Getting started beekeeping requires you two things: acquire bees and have someplace for those bees to live. There are many ways of accomplishing both. Below I describe three methods I’ve used to acquire new bees. Next month I’ll describe the equipment I use to house and care for them.
How to Get Bees
You can buy bees, catch swarms, or lure swarms to your hives.
Purchasing bees is the quickest and most reliable way to get bees when you are starting out. You can order them from a supplier, from a retailer, or buy them from a fellow backyard beekeeper.
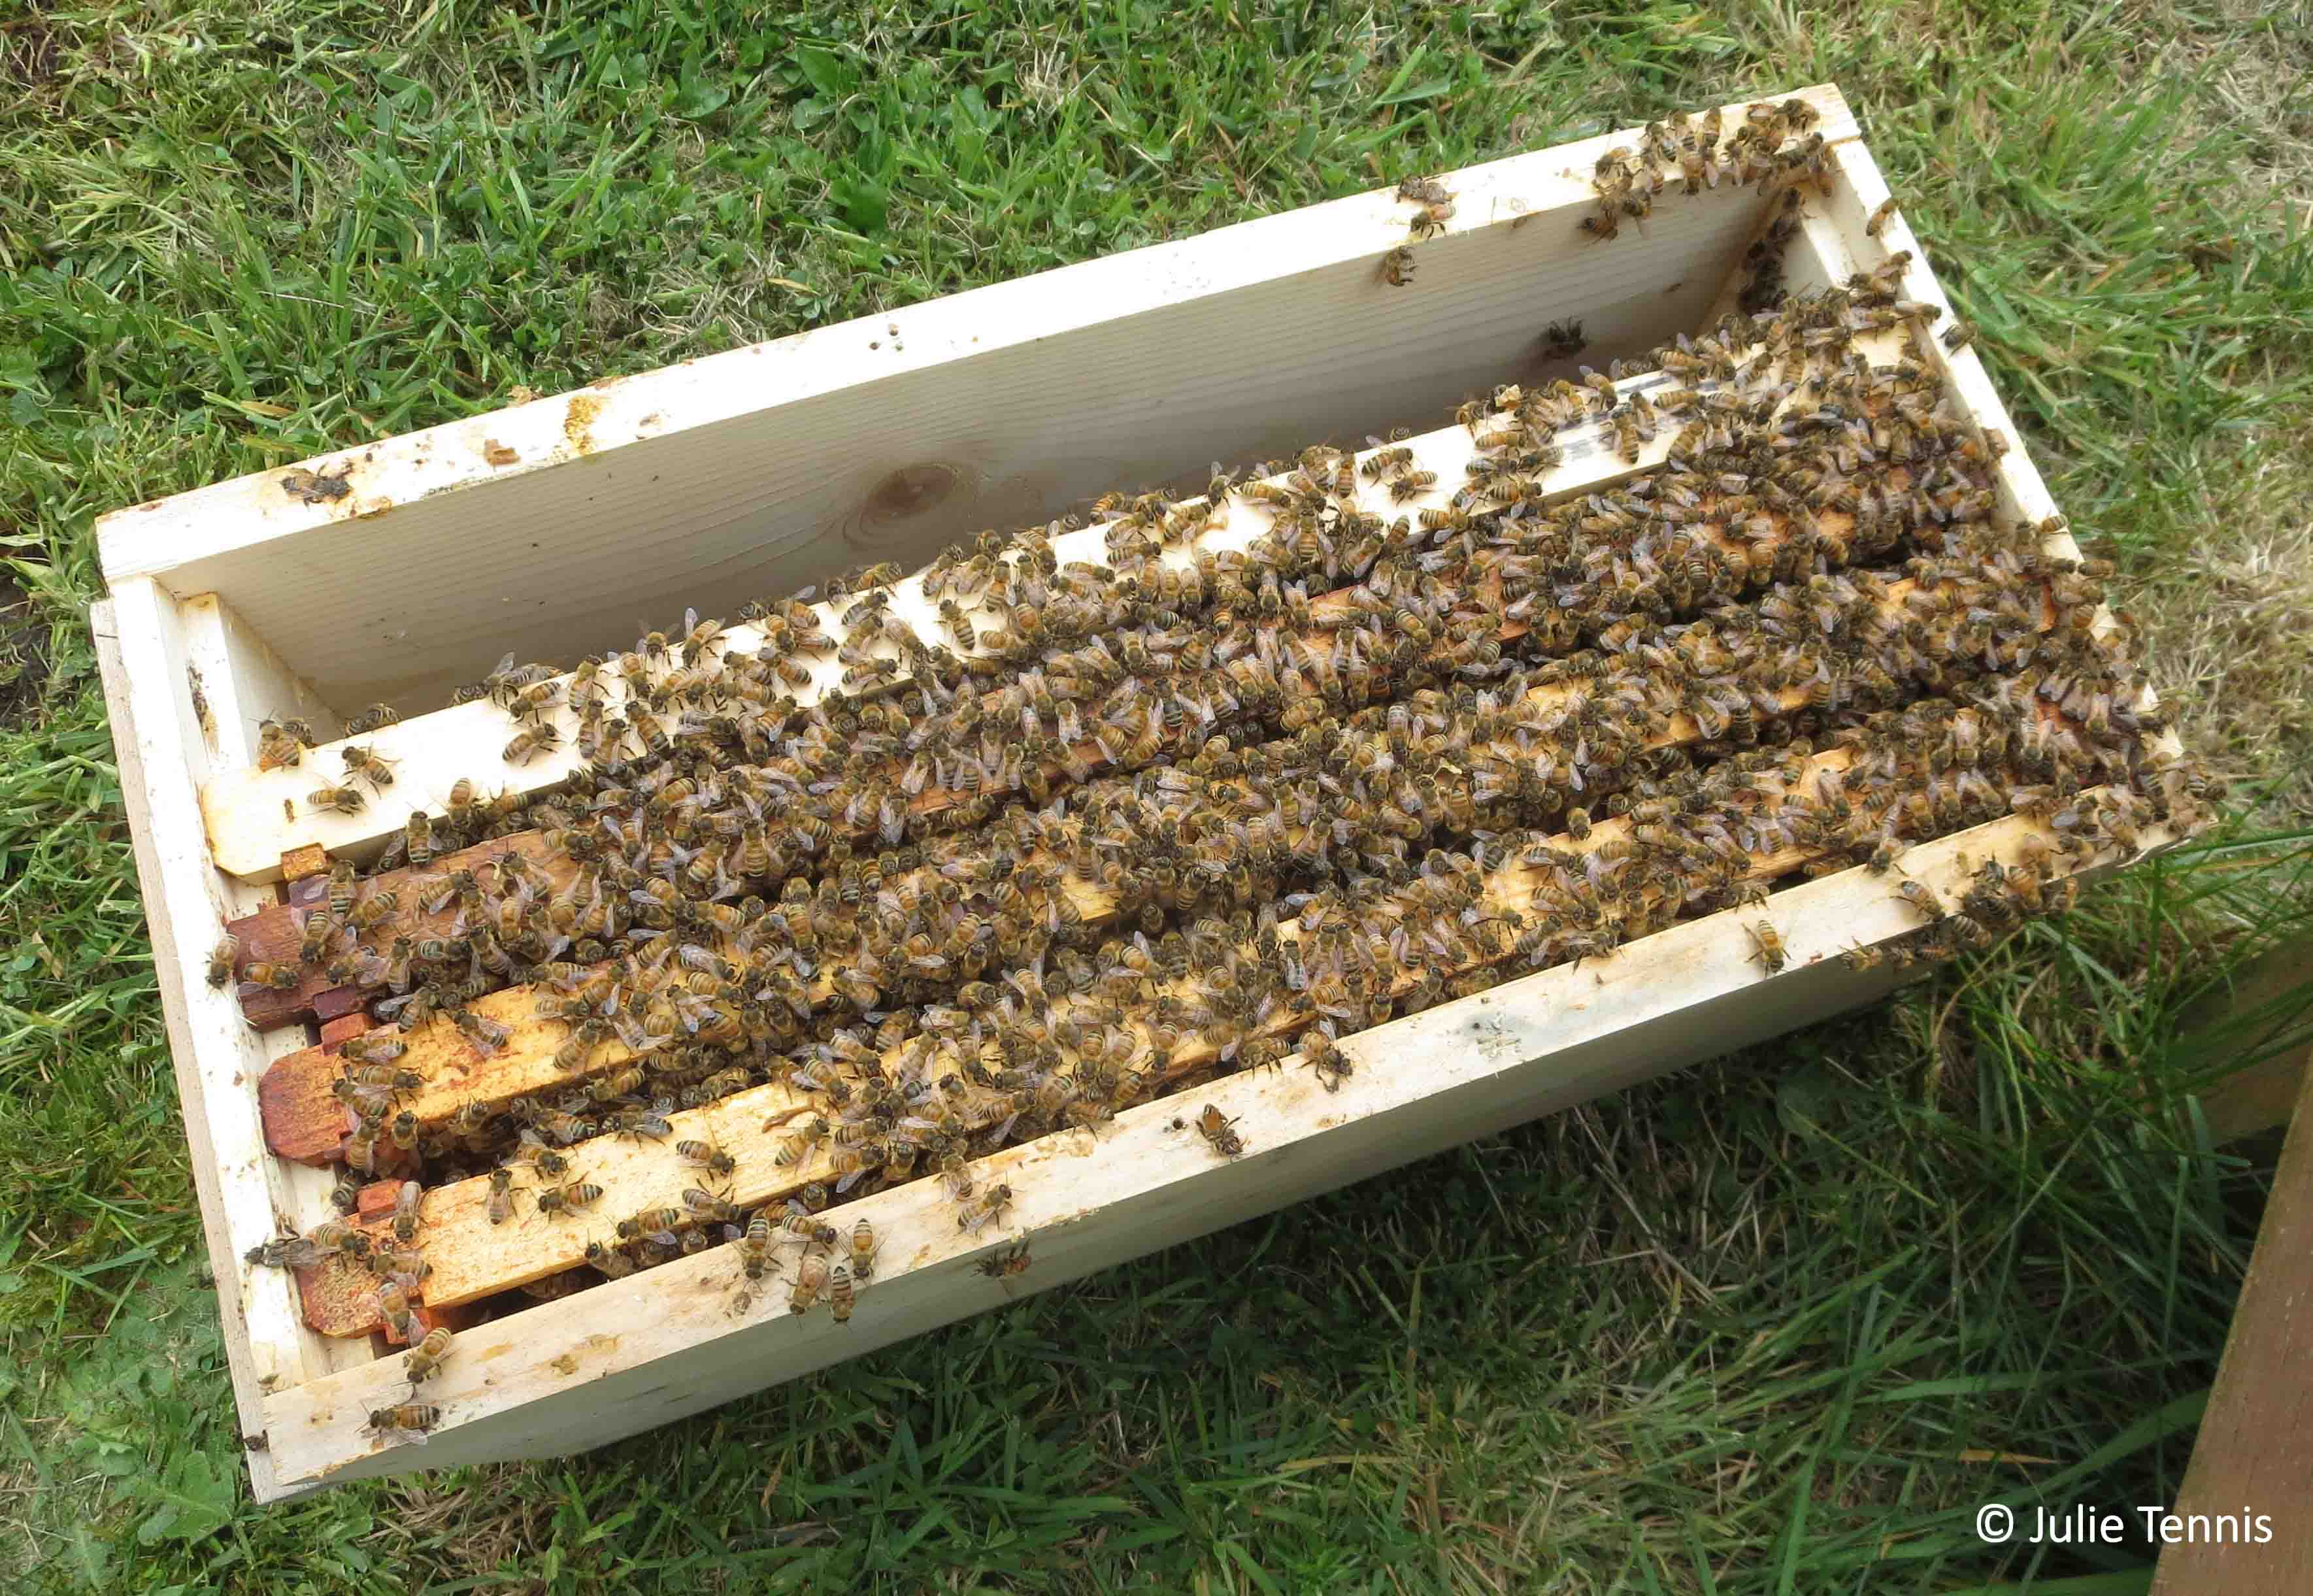 Suppliers are businesses that raise queens and bees to sell. The bees are sold in nucs or packages. A nuc is a five-frame hive. A package is a screened box of loose bees with a caged queen. I find a nuc preferable because the bees are already using the frames in the box, which can be transferred directly into your hive with little upset to the bees. The queen is already incorporated into the colony and has often already started laying eggs. This increases the chances of the bees staying in your hive. Packaged bees have to be shaken into your waiting bee hive and the queen is still new to the colony. She and the group are more likely to abscond (leave) if there is nothing in your hive to entice them to stay. Suppliers generally sell bees in the spring, and you may have to pre-order them as early as the previous autumn.
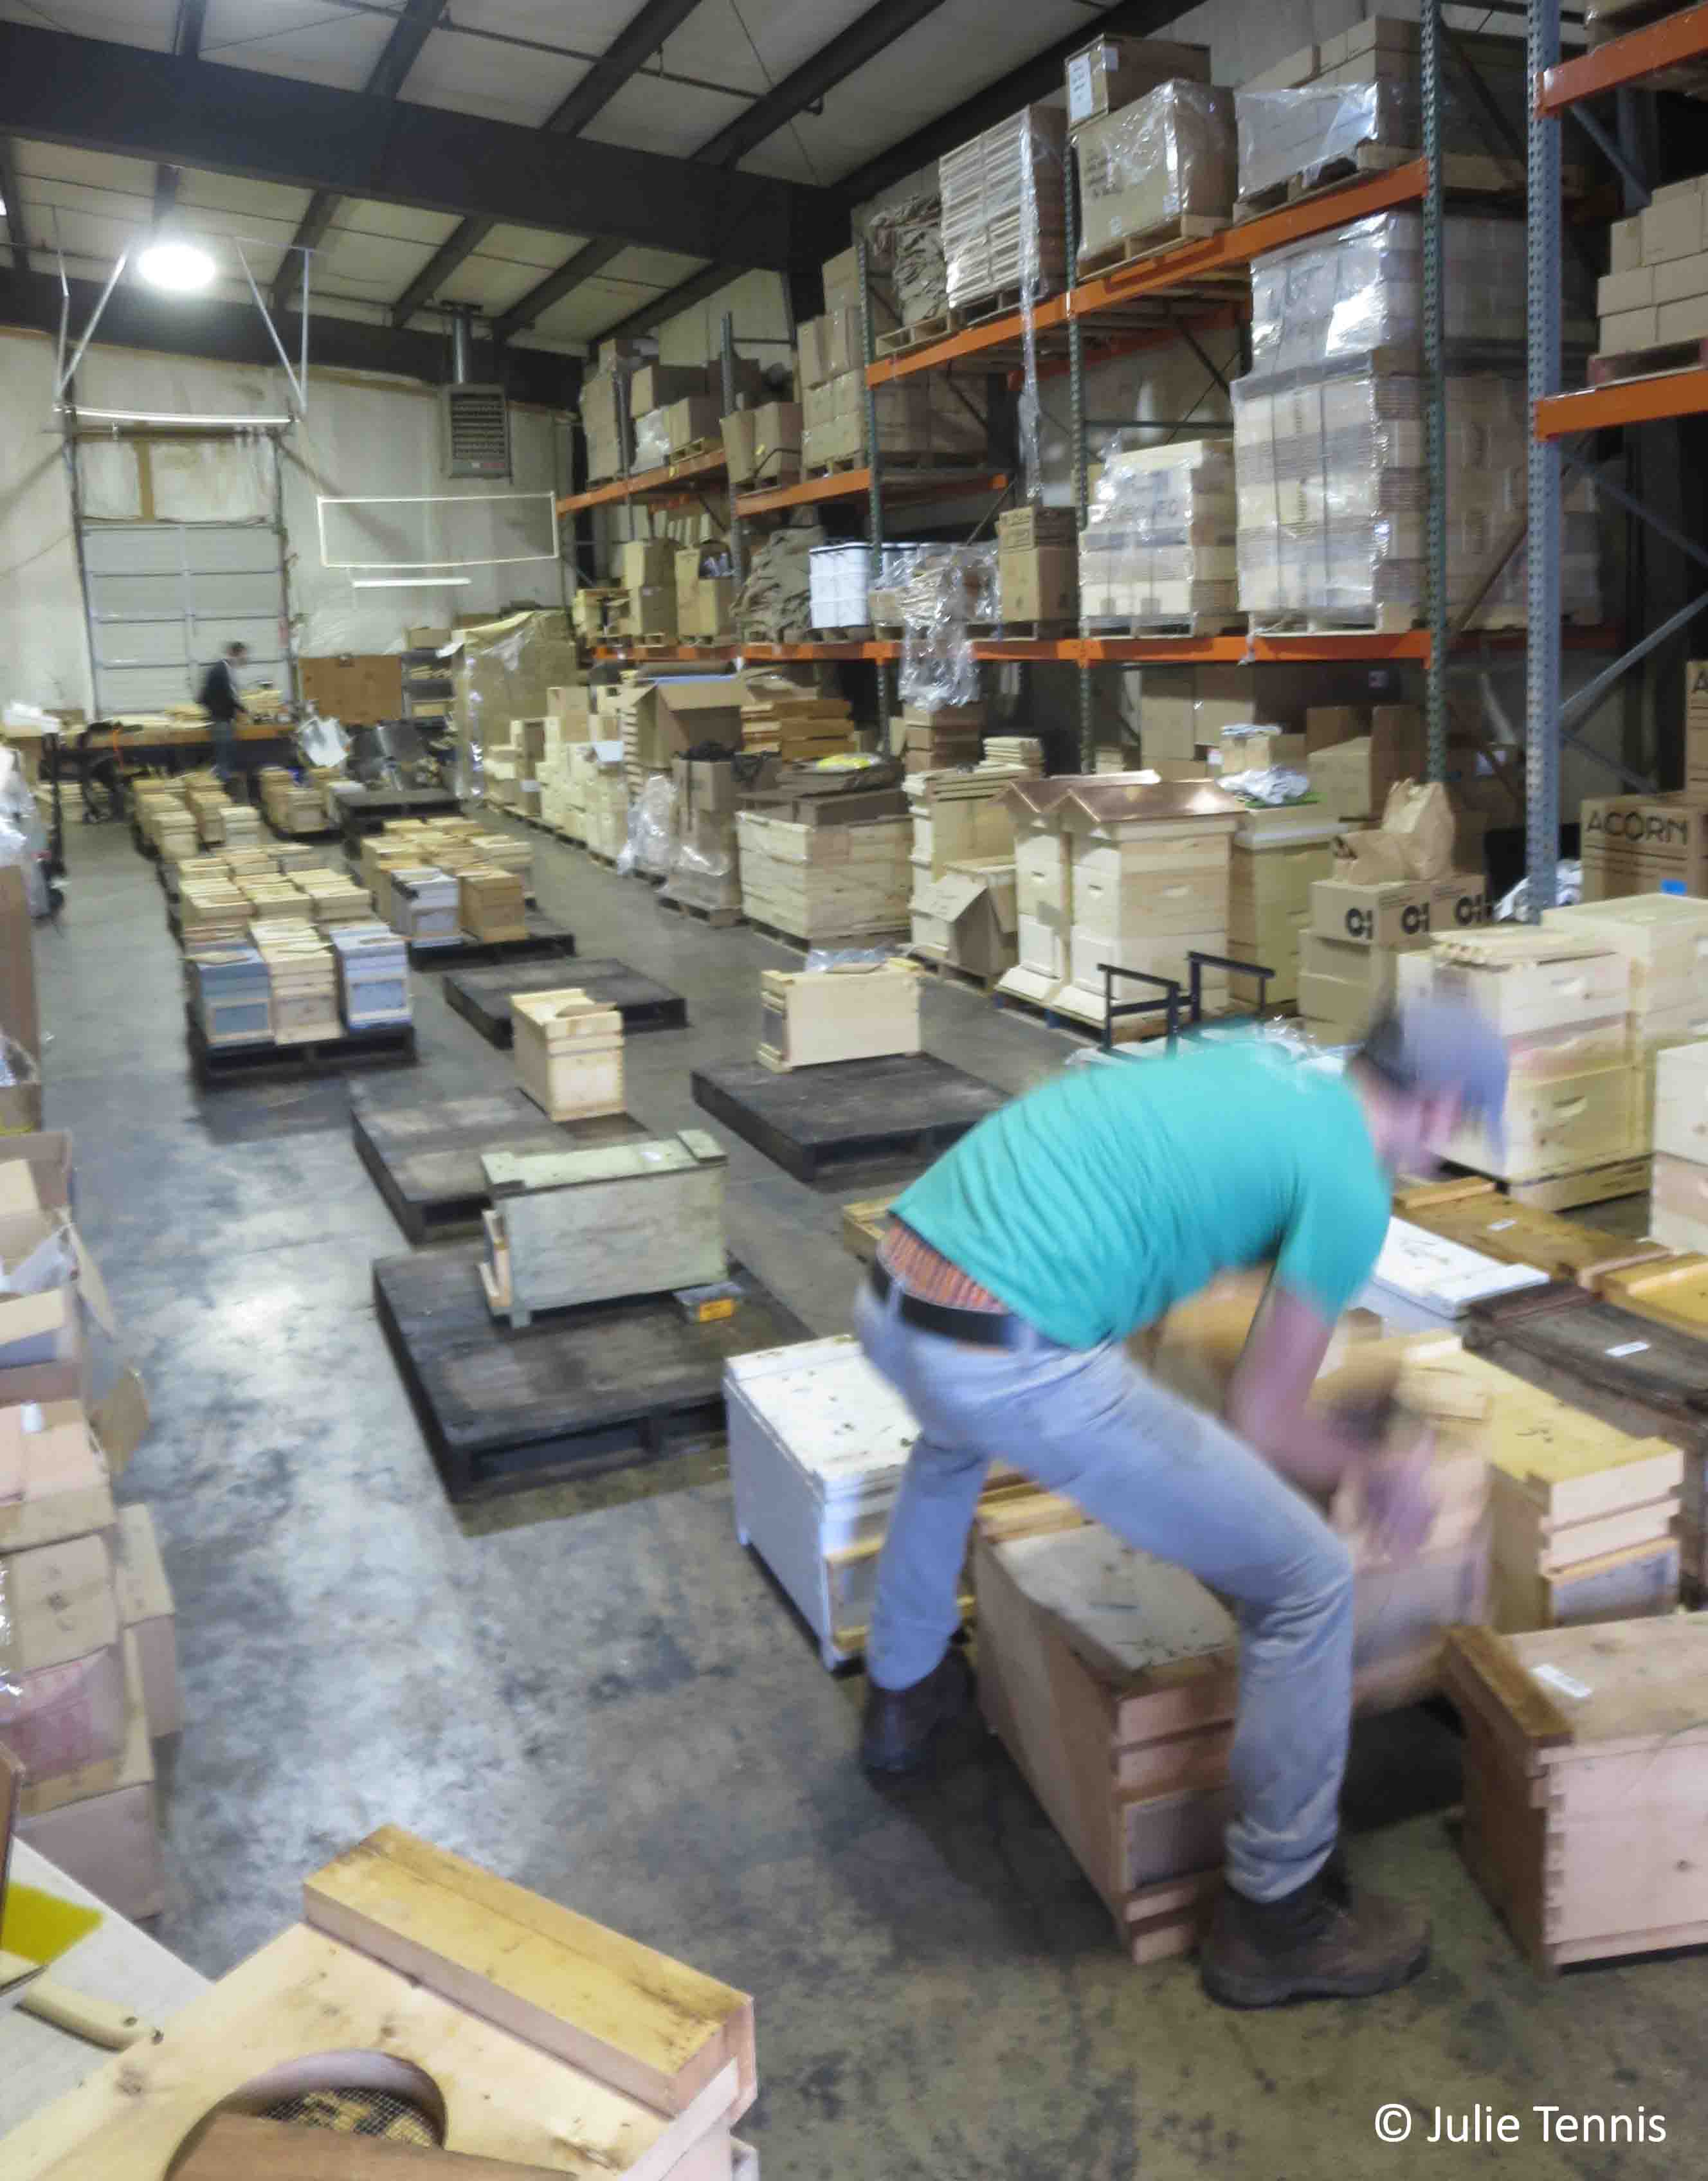 Retailers are places where you can buy your other beekeeping supplies as well as bees. They act as dealers for suppliers, taking pre-orders and handling sales and deliveries. Bees are generally only available in the spring and you may have to pre-order as early as the previous autumn. Be aware that commercially available bees, unless marketed otherwise, have likely been treated with chemicals to kill mites and stave off other parasites and disease. You will need to continue to treat these bees to keep them alive and well. “Treatment-free” will not work on these colonies.
Backyard beekeepers sometimes need to downsize, or may want to get out of beekeeping altogether. You can potentially acquire bees from them at any time of year, and generally when you buy bees from another beekeeper you are getting the entire hive, not just a nuc or a package. But be aware that used equipment can be a vector for disease and parasites. Vet the health of the apiary, or bee yard, from which you’ll be purchasing your bees. Are the colonies healthy? It can be helpful to bring along an experienced beekeeper to help you assess the health of the apiary (check with your local club).
However you acquire your bees, try to get them from a location with a similar climate as yours. That way the bees will already be adapted to the conditions of where they will be living, increasing their chances for survival. (This is particularly important for those of us living on the wet “Outer Coast” of Washington, for example.)
 Catching swarms is another method for acquiring bees. You can get on your area’s “swarm list” through your local beekeeping club and/or state beekeeping organization. You can also let your local emergency management know you are available to remove swarms. Swarms generally consist of an older queen and several hundred worker bees. They may have mites so treat accordingly when you house them. It can be difficult to keep a swarm if you only have brand-new equipment. If possible, include a frame of honey in the box to entice them to stay. You may be able to acquire one from a local beekeeper, but freeze it for a full 24 hours before you use it to kill any parasites that may be left over from the previous colony. (Note that not all diseases are killed by cold.)
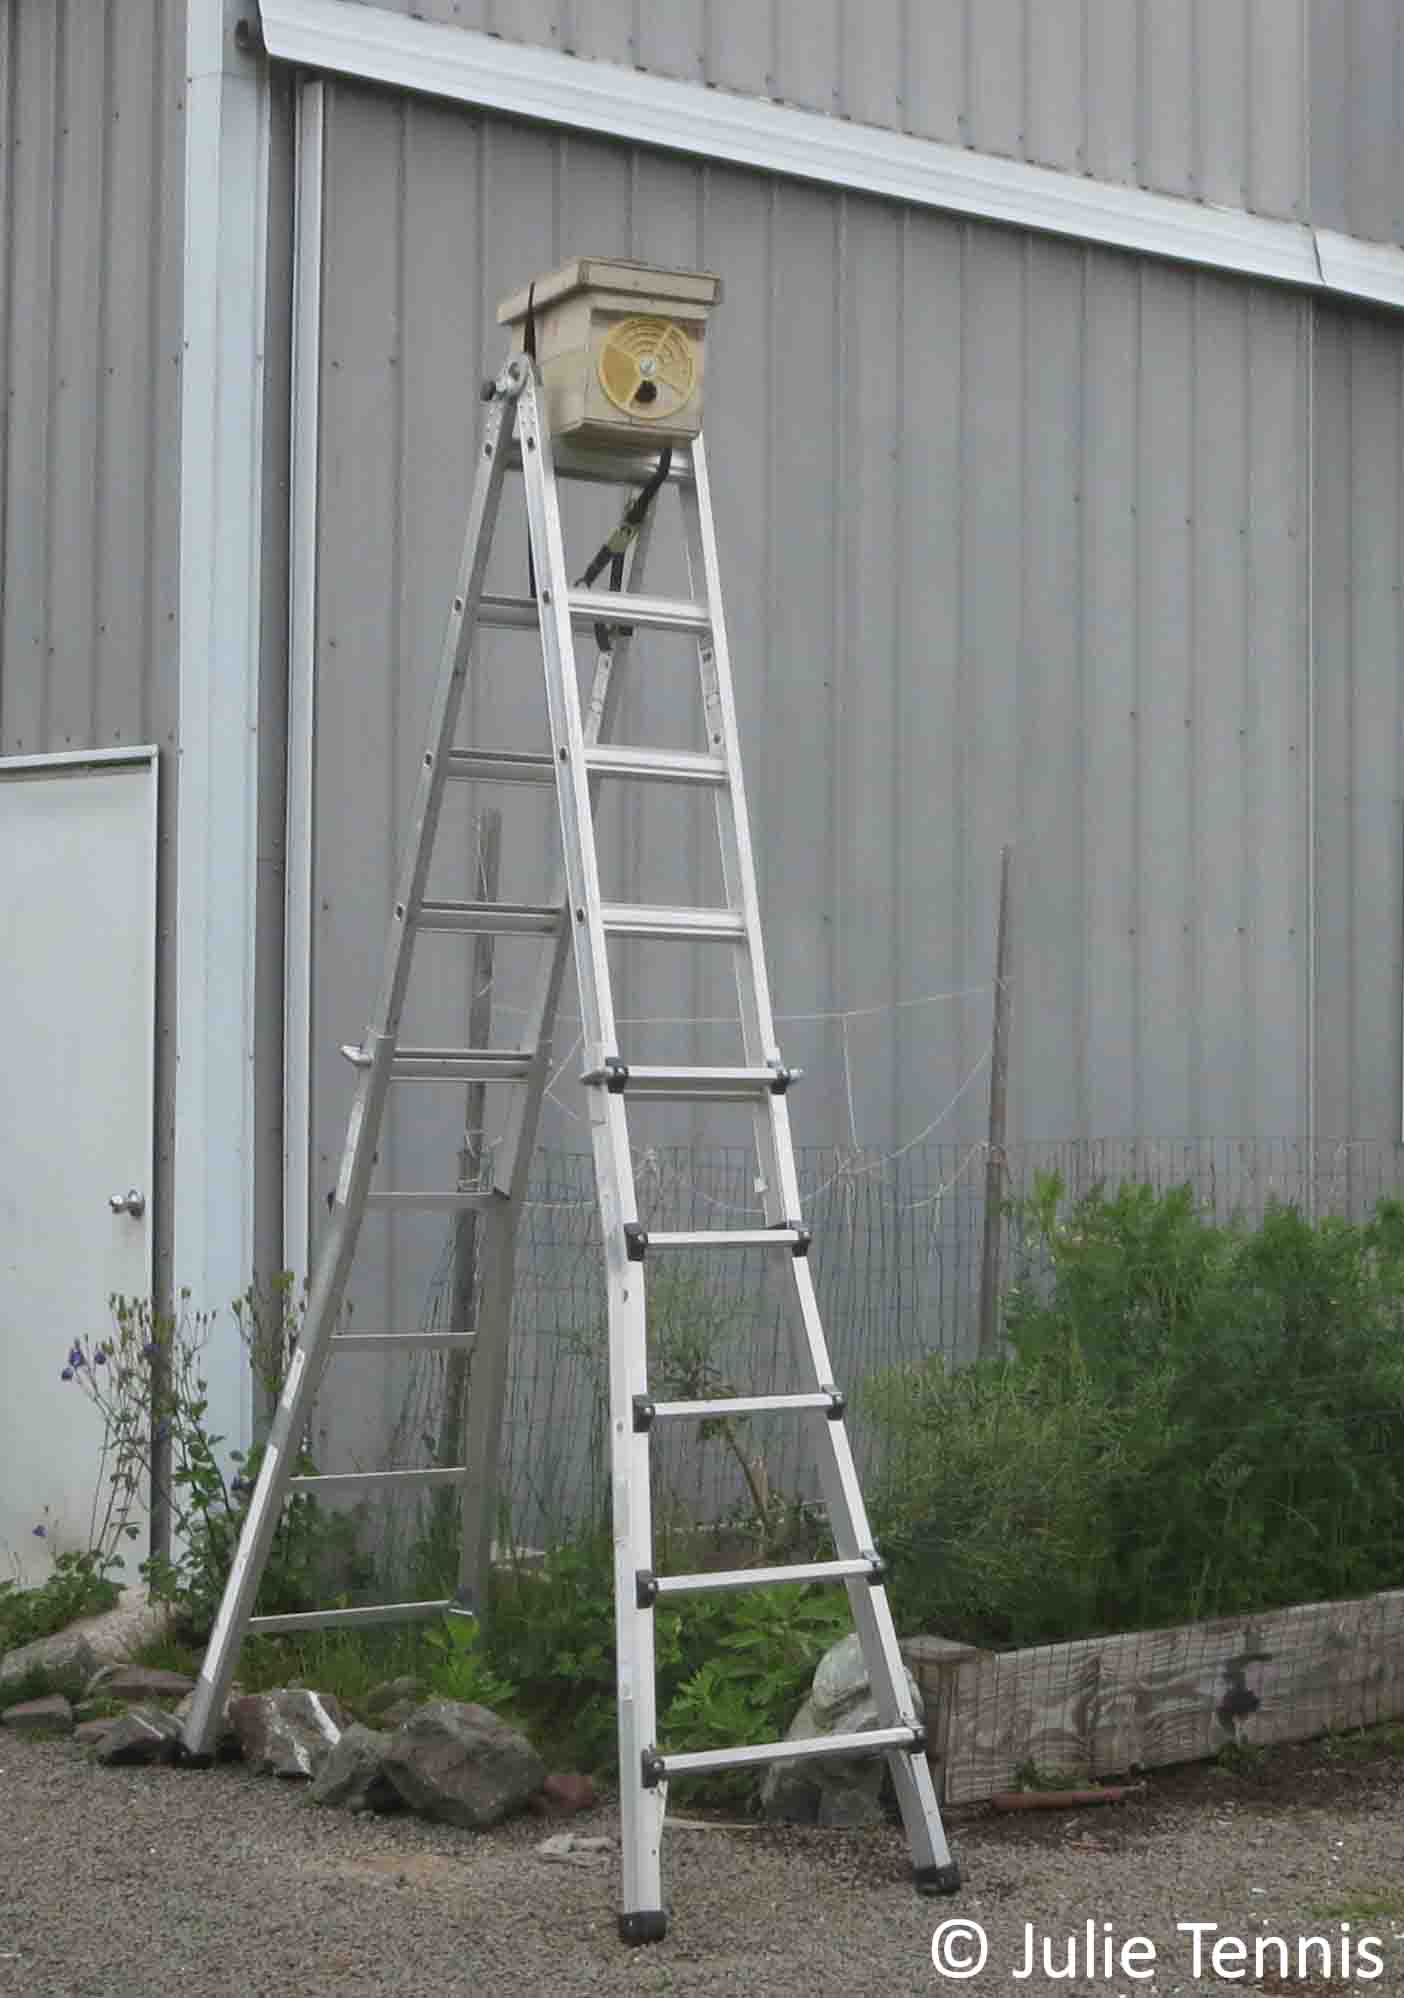 Luring bees to your new beehive can be very difficult. If you have some old beekeeping equipment, roving scout bees are more likely to find it and convince their sisters to choose that site as their new home. If all you have is fresh new equipment, you might try adding a few drops of lemongrass essential oil (EO) in the box and on a frame or two (be stingy – a little goes a long way). Bees are quite attracted to the aroma. I have successfully lured swarms into hives using lemongrass EO. Be aware, however, that the scent will attract them no matter where it is located. I made the mistake of putting the jar of EO in the pocket of my bee suit after applying it. When I was at another apiary the next day, the bees there were very interested in my pocket, even though I’d removed the jar. Some of the EO had transferred to the fabric and I had bees crawling in my pocket to find it. (Washing my bee suit removed the aroma.)
Getting started with beekeeping can be an expensive endeavor, with buying bees and purchasing equipment. But if you’re willing to make the effort to capture your own, you can save yourself $100 or more.
Have you already started keeping bees? Tell us how you got your first colony in the comments below:
 I filled up my first beekeeping journal in December, which got me thinking about record-keeping and how I might improve my system. I’ve been through a few iterations of record keeping systems, but the one I’ve been using the past five years is a mix of short notes and narrative. I record the date, location and hive number, then include notes that pertain to whatever it is I’m checking for that day. Here’s an example of a mid-winter inspection where I was checking colony vitality and stores:
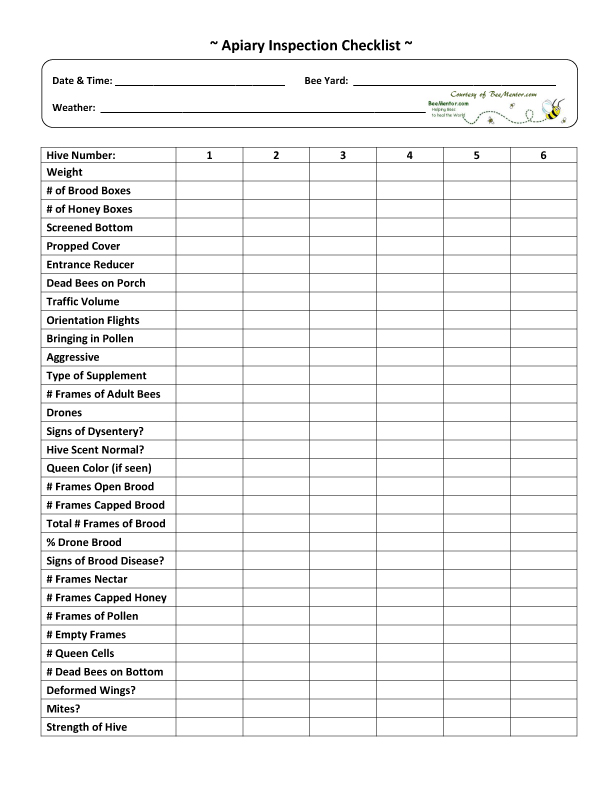
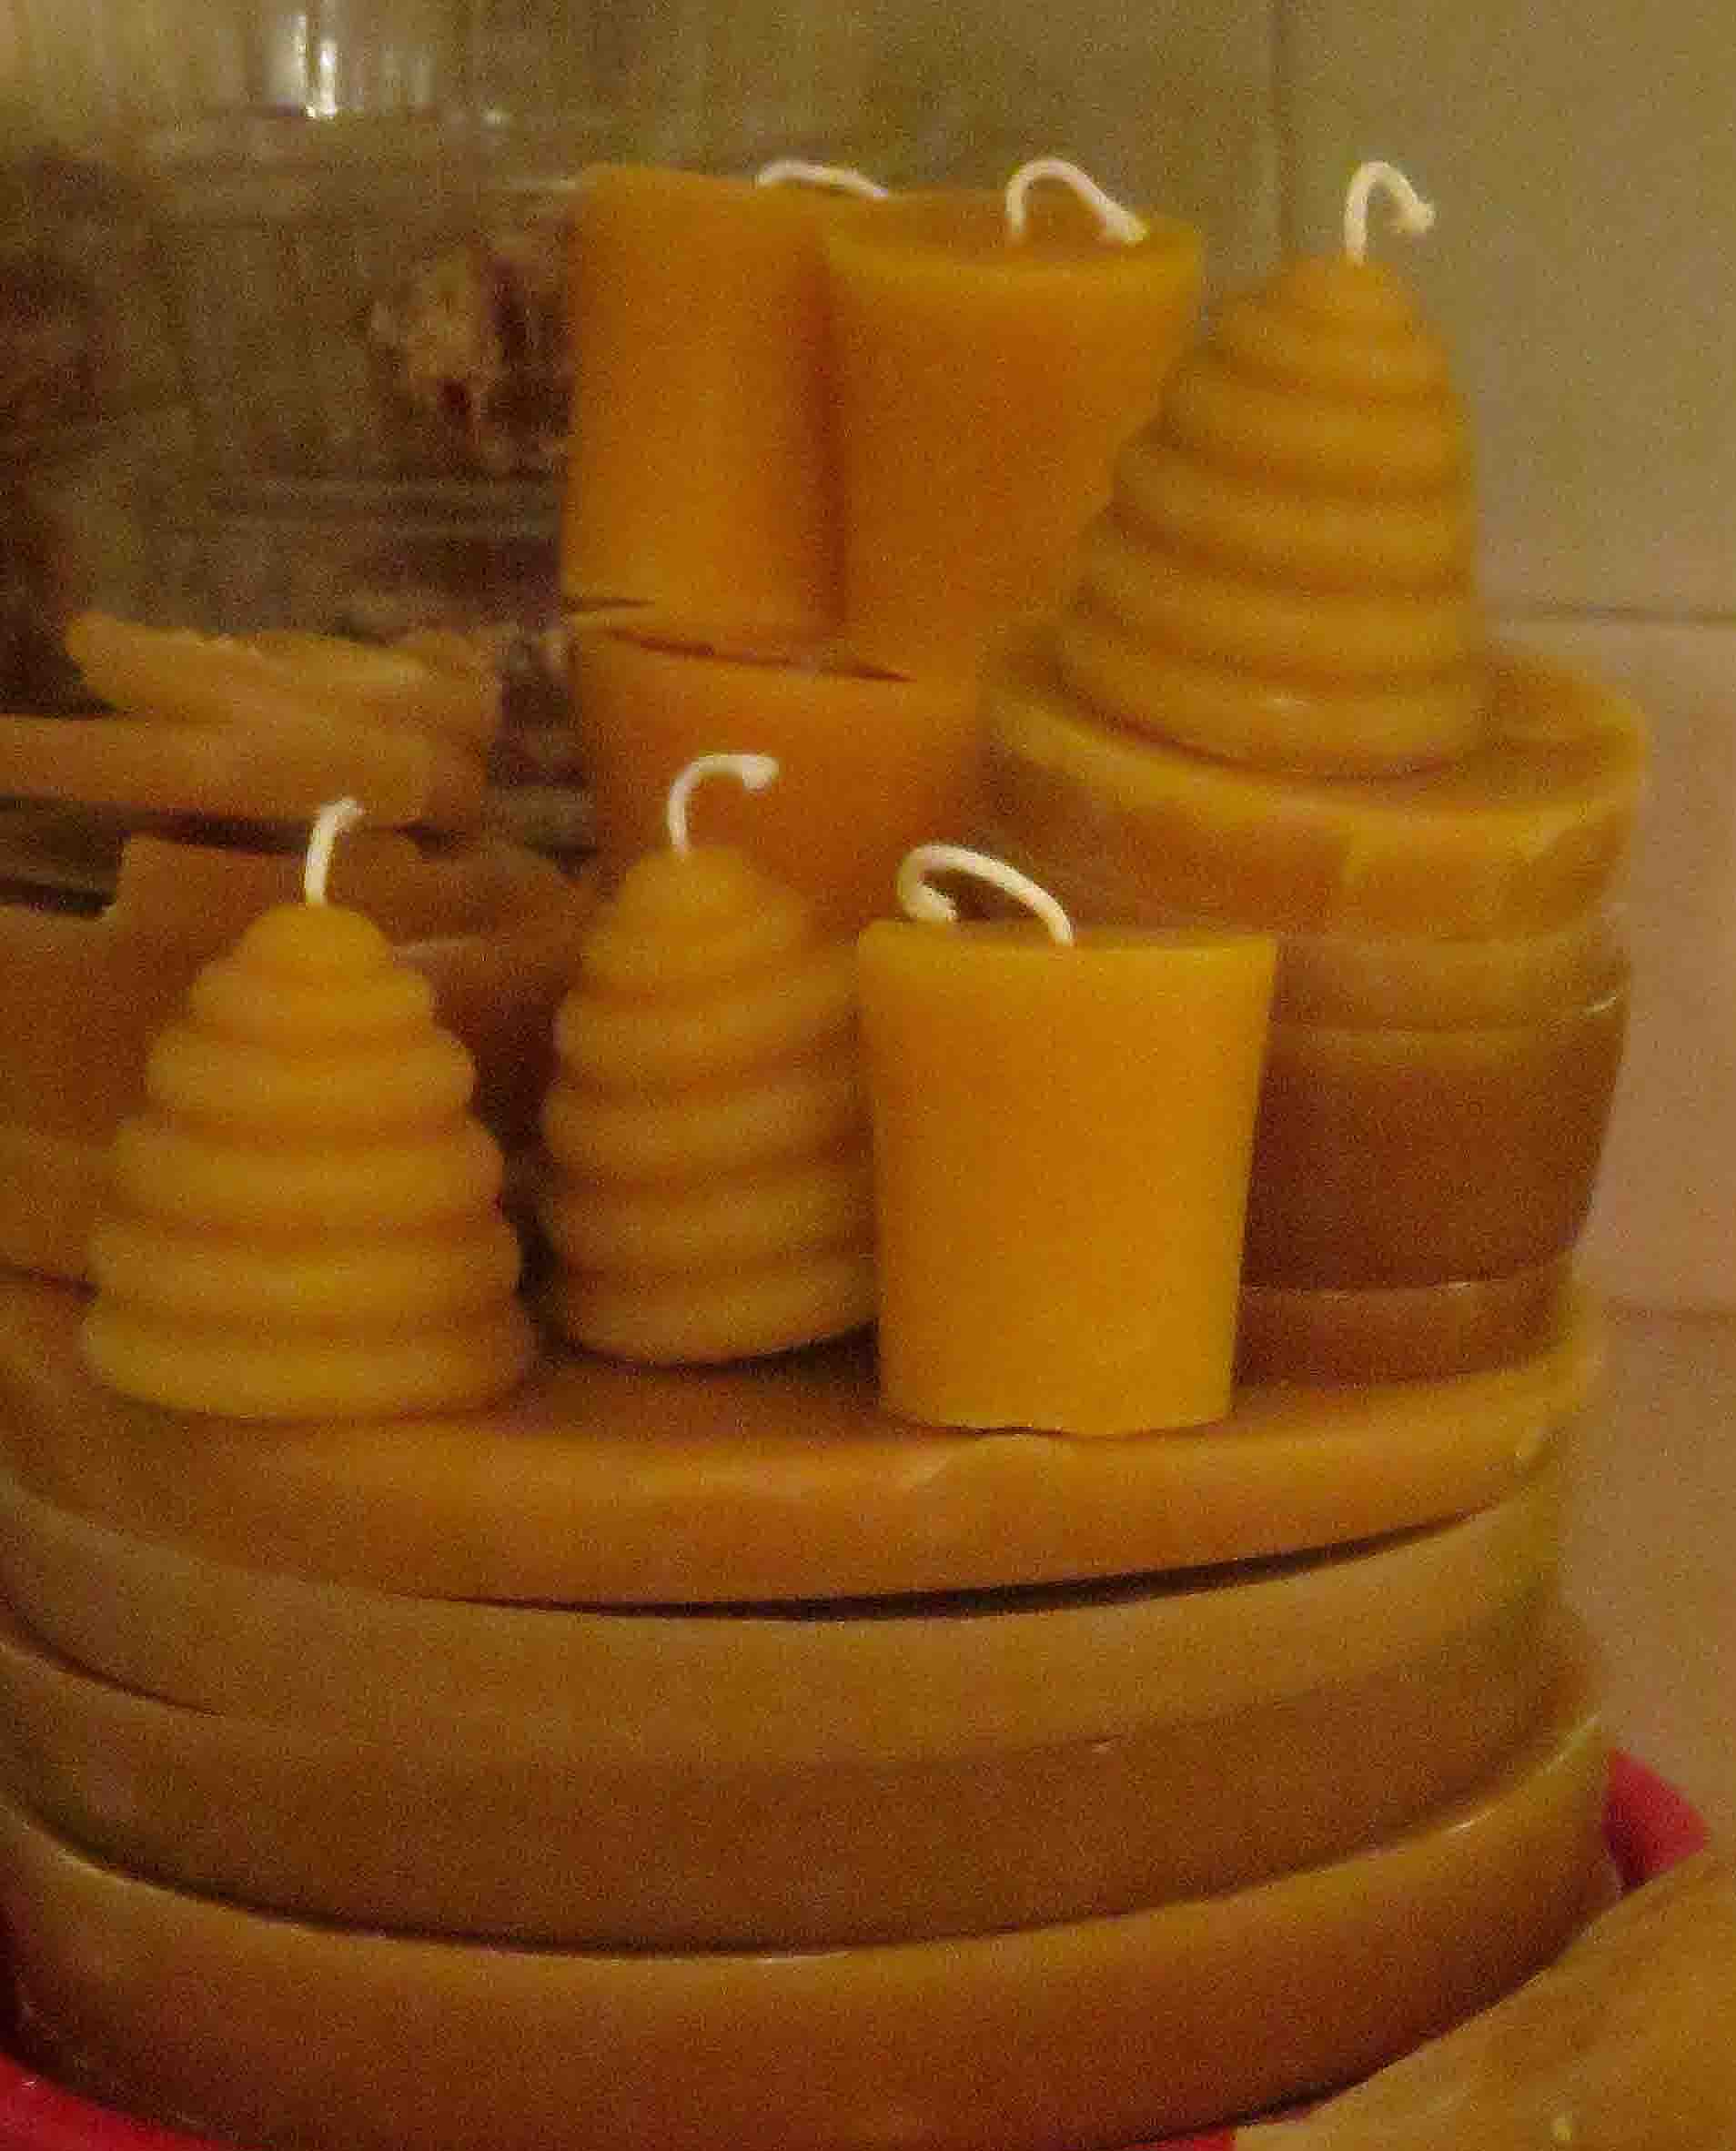 I was several years into beekeeping before I learned how to process wax. I had tried it once, early on, and ended up with such a mess in the metal bowl I was using that I just hid the bowl away rather than figure out how to fix it. Now I know that having clean wax to make candles and other products is all about having the right tools.
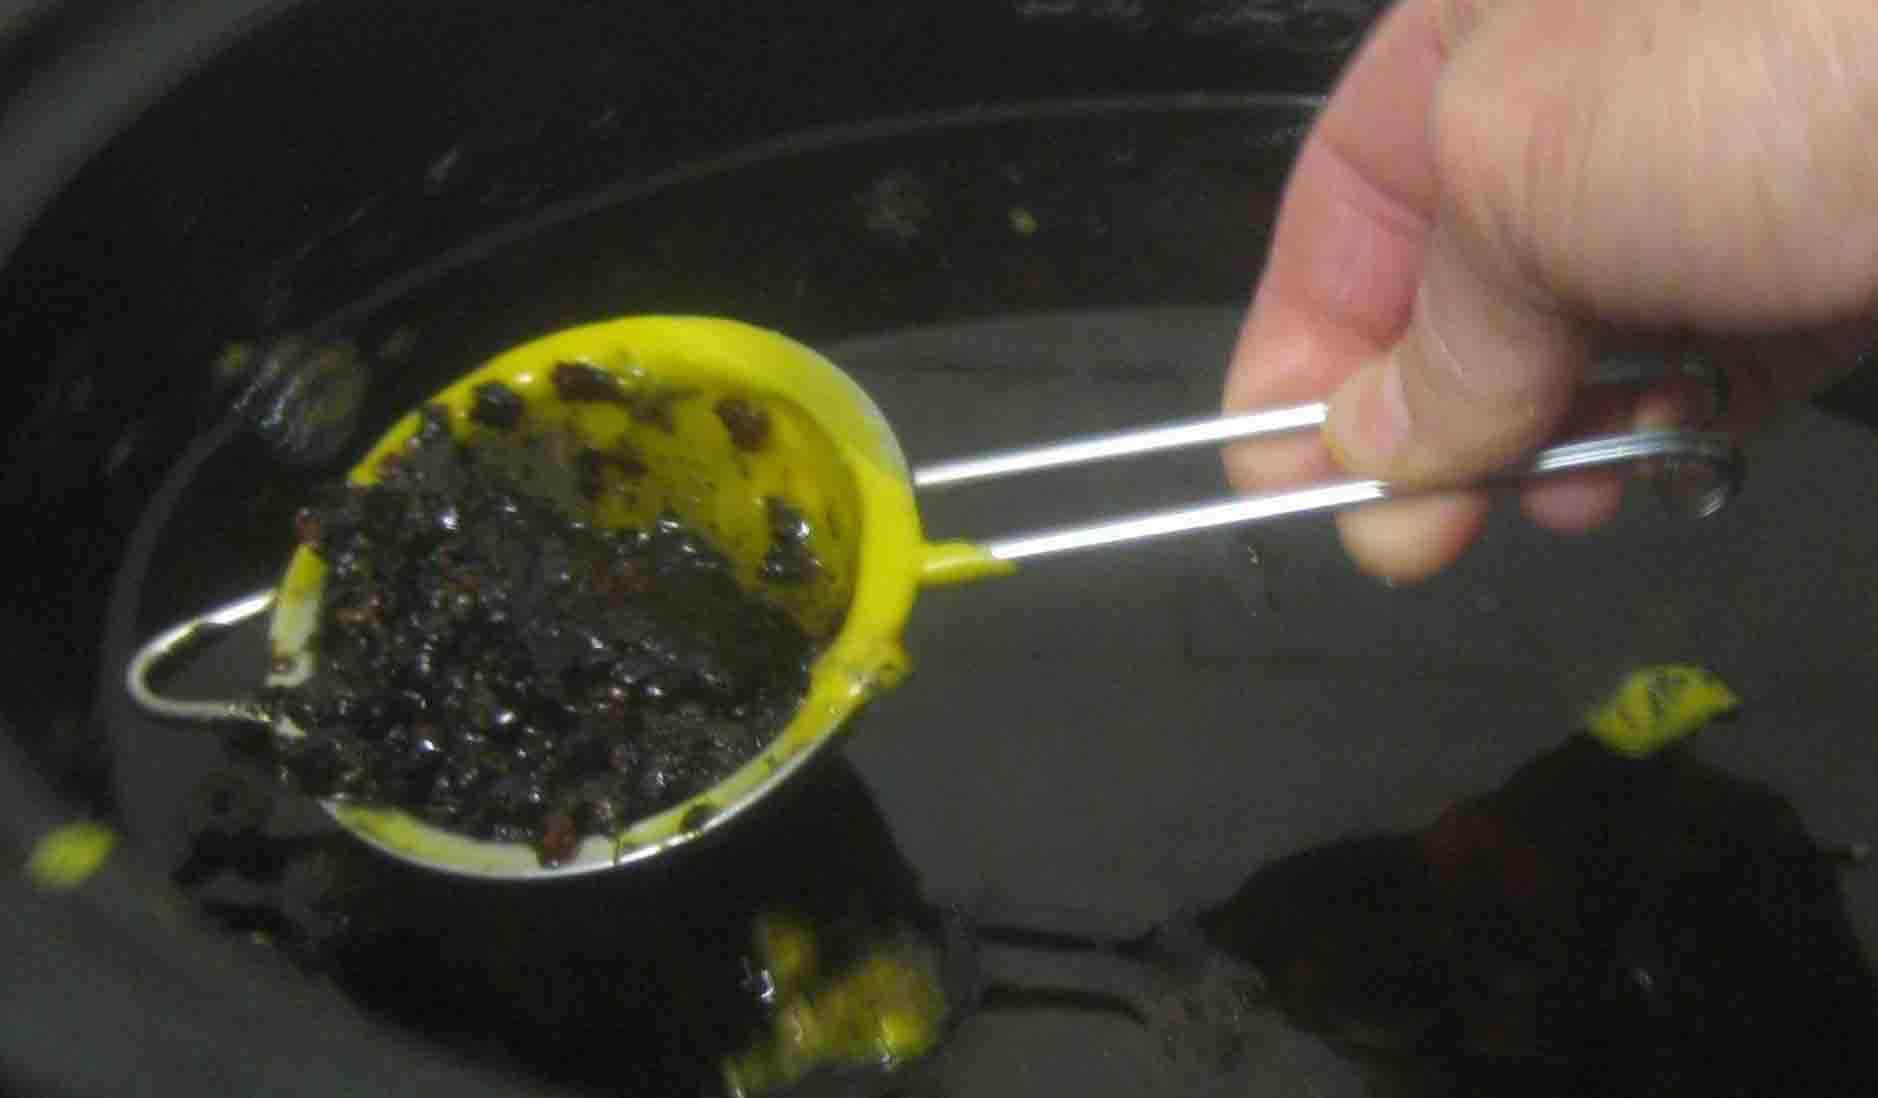 (Slumgum is the crud that separates out of the wax. It’s a mix of honey and other impurities cooking into a sticky, frothy brown goo.)
 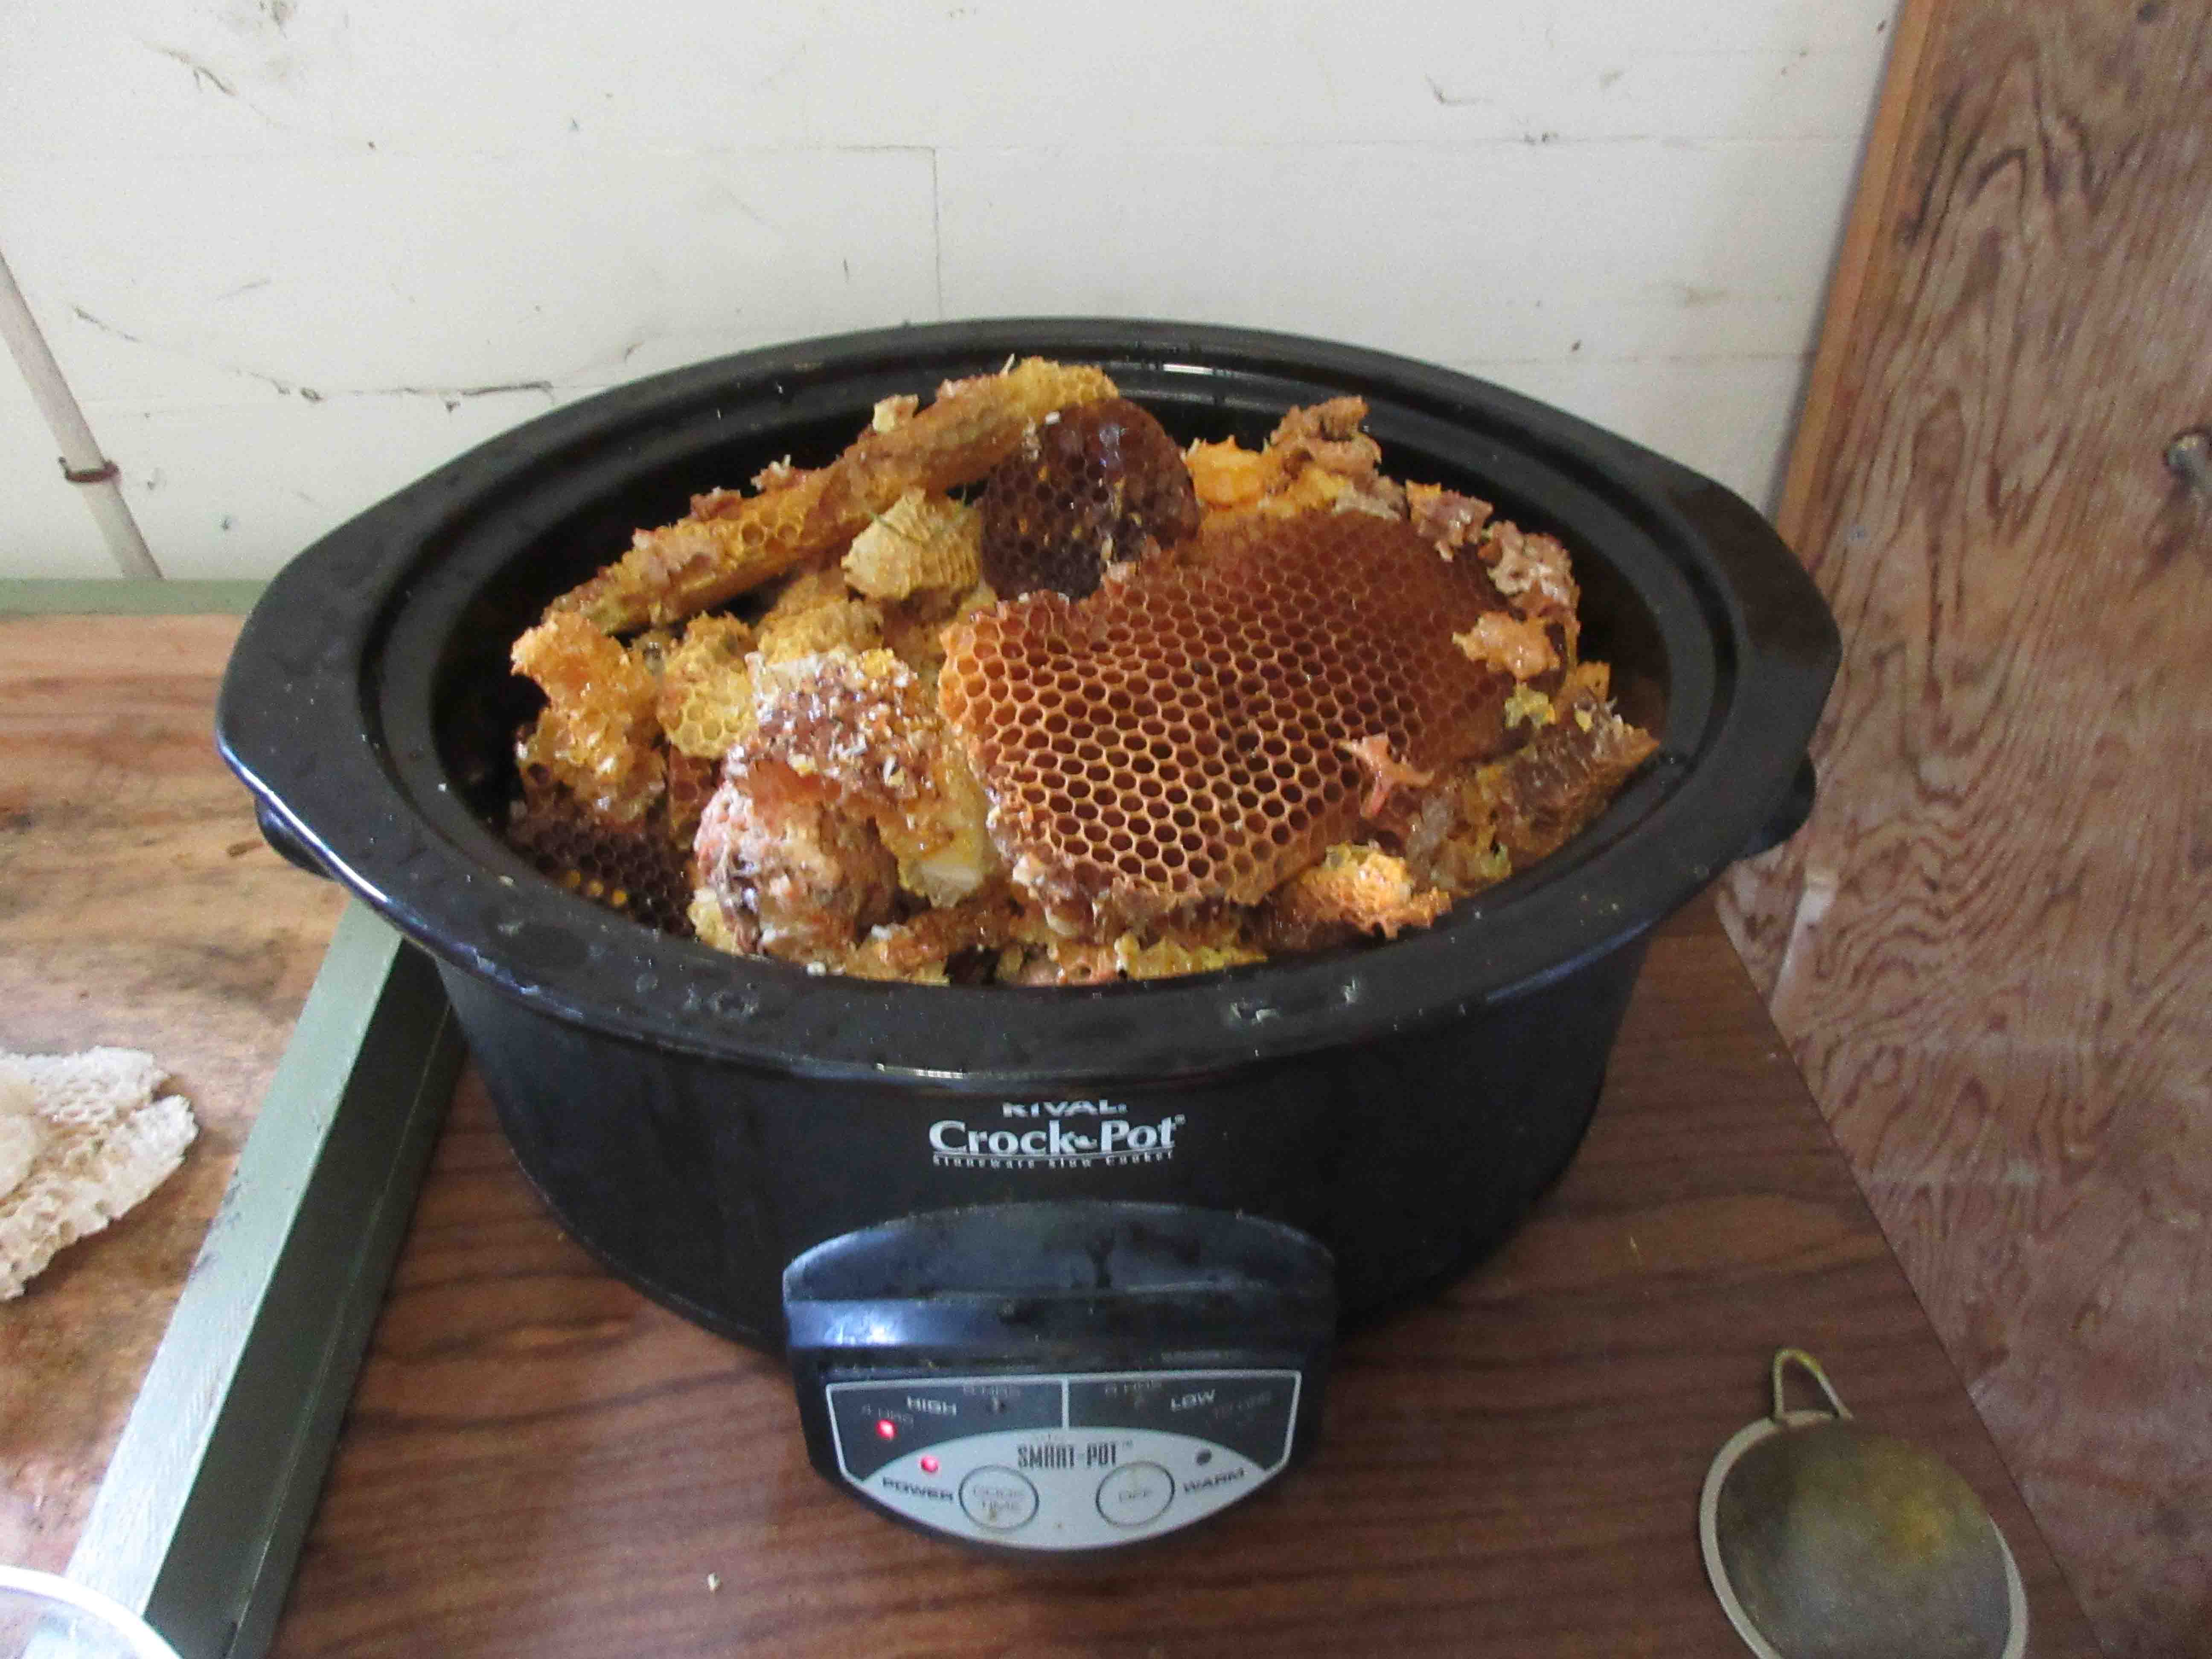 The first melt occurs in the crockpot. Add three inches of water in the bottom of the pot. Add the raw wax. Turn on the heat. It only takes 15-30 minutes for all the wax to melt, depending on how much you added.
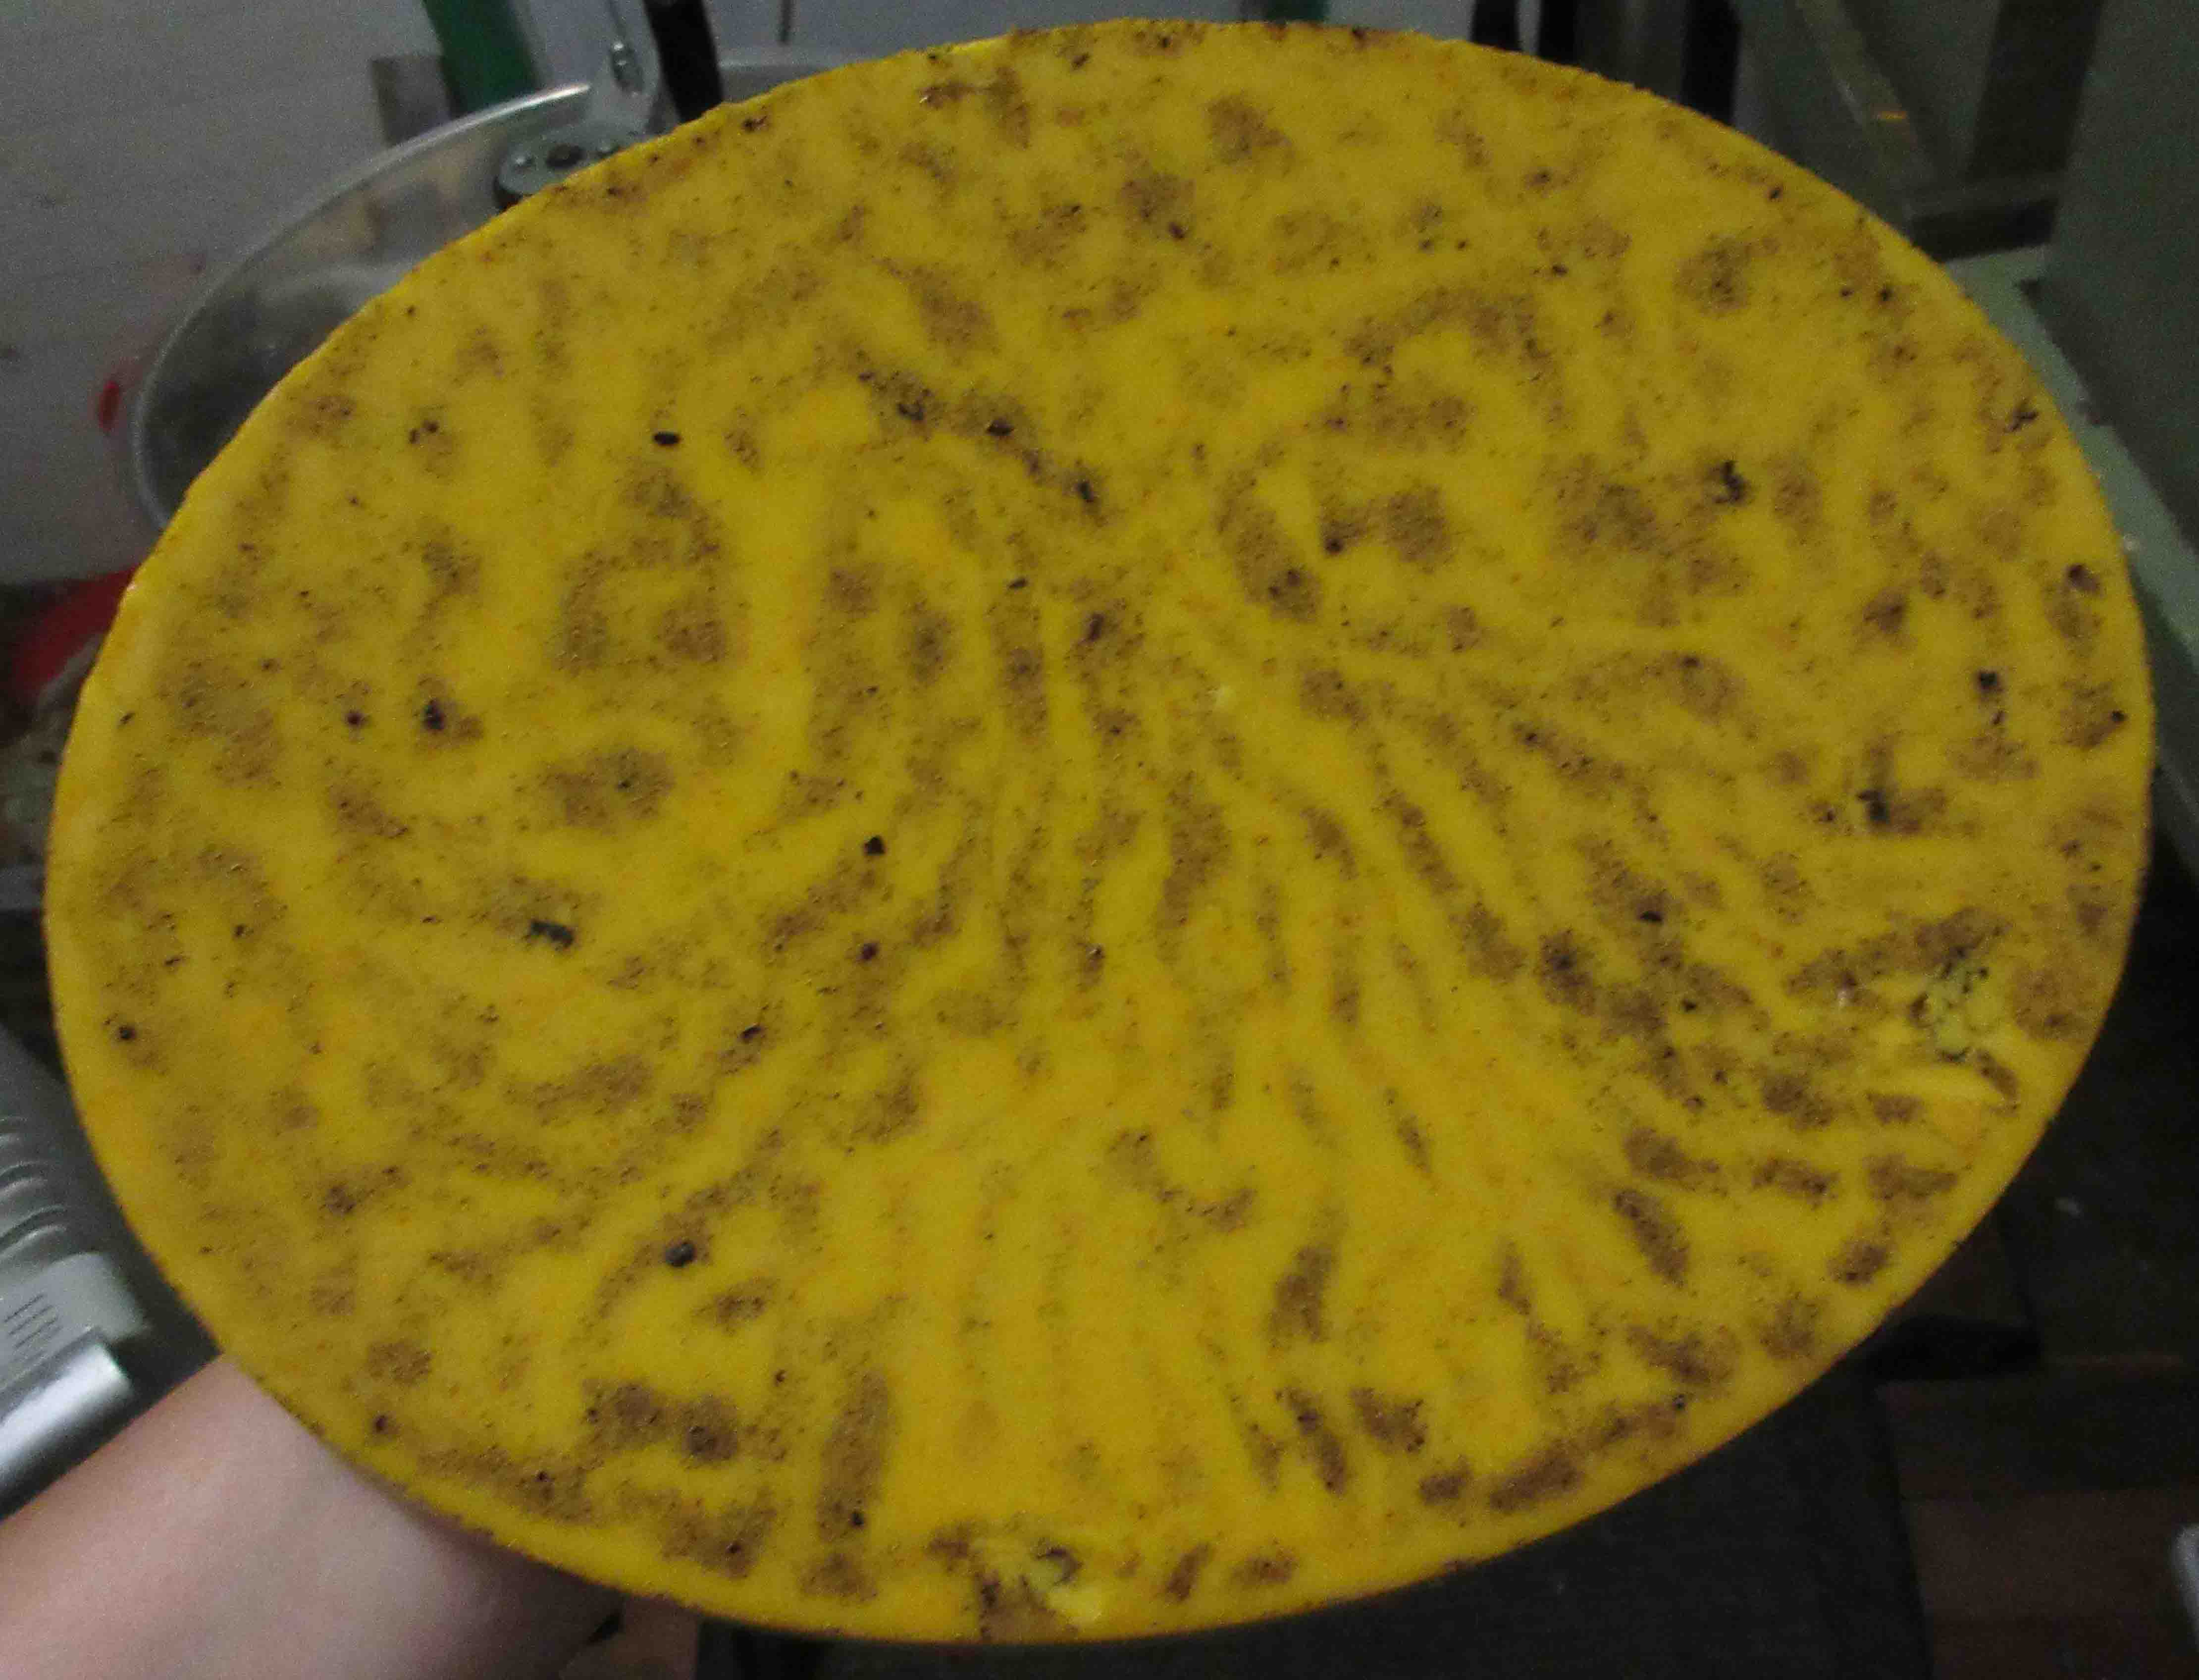 You’ll now have a nice oval of wax which is convenient for storing. There will likely be a small chunks of slumgum and cocoons embedded in the wax, but you can remove those during step two. If you’re going to store your wax, rinse thoroughly under lukewarm water to dislodge any residual honey and loose debris.
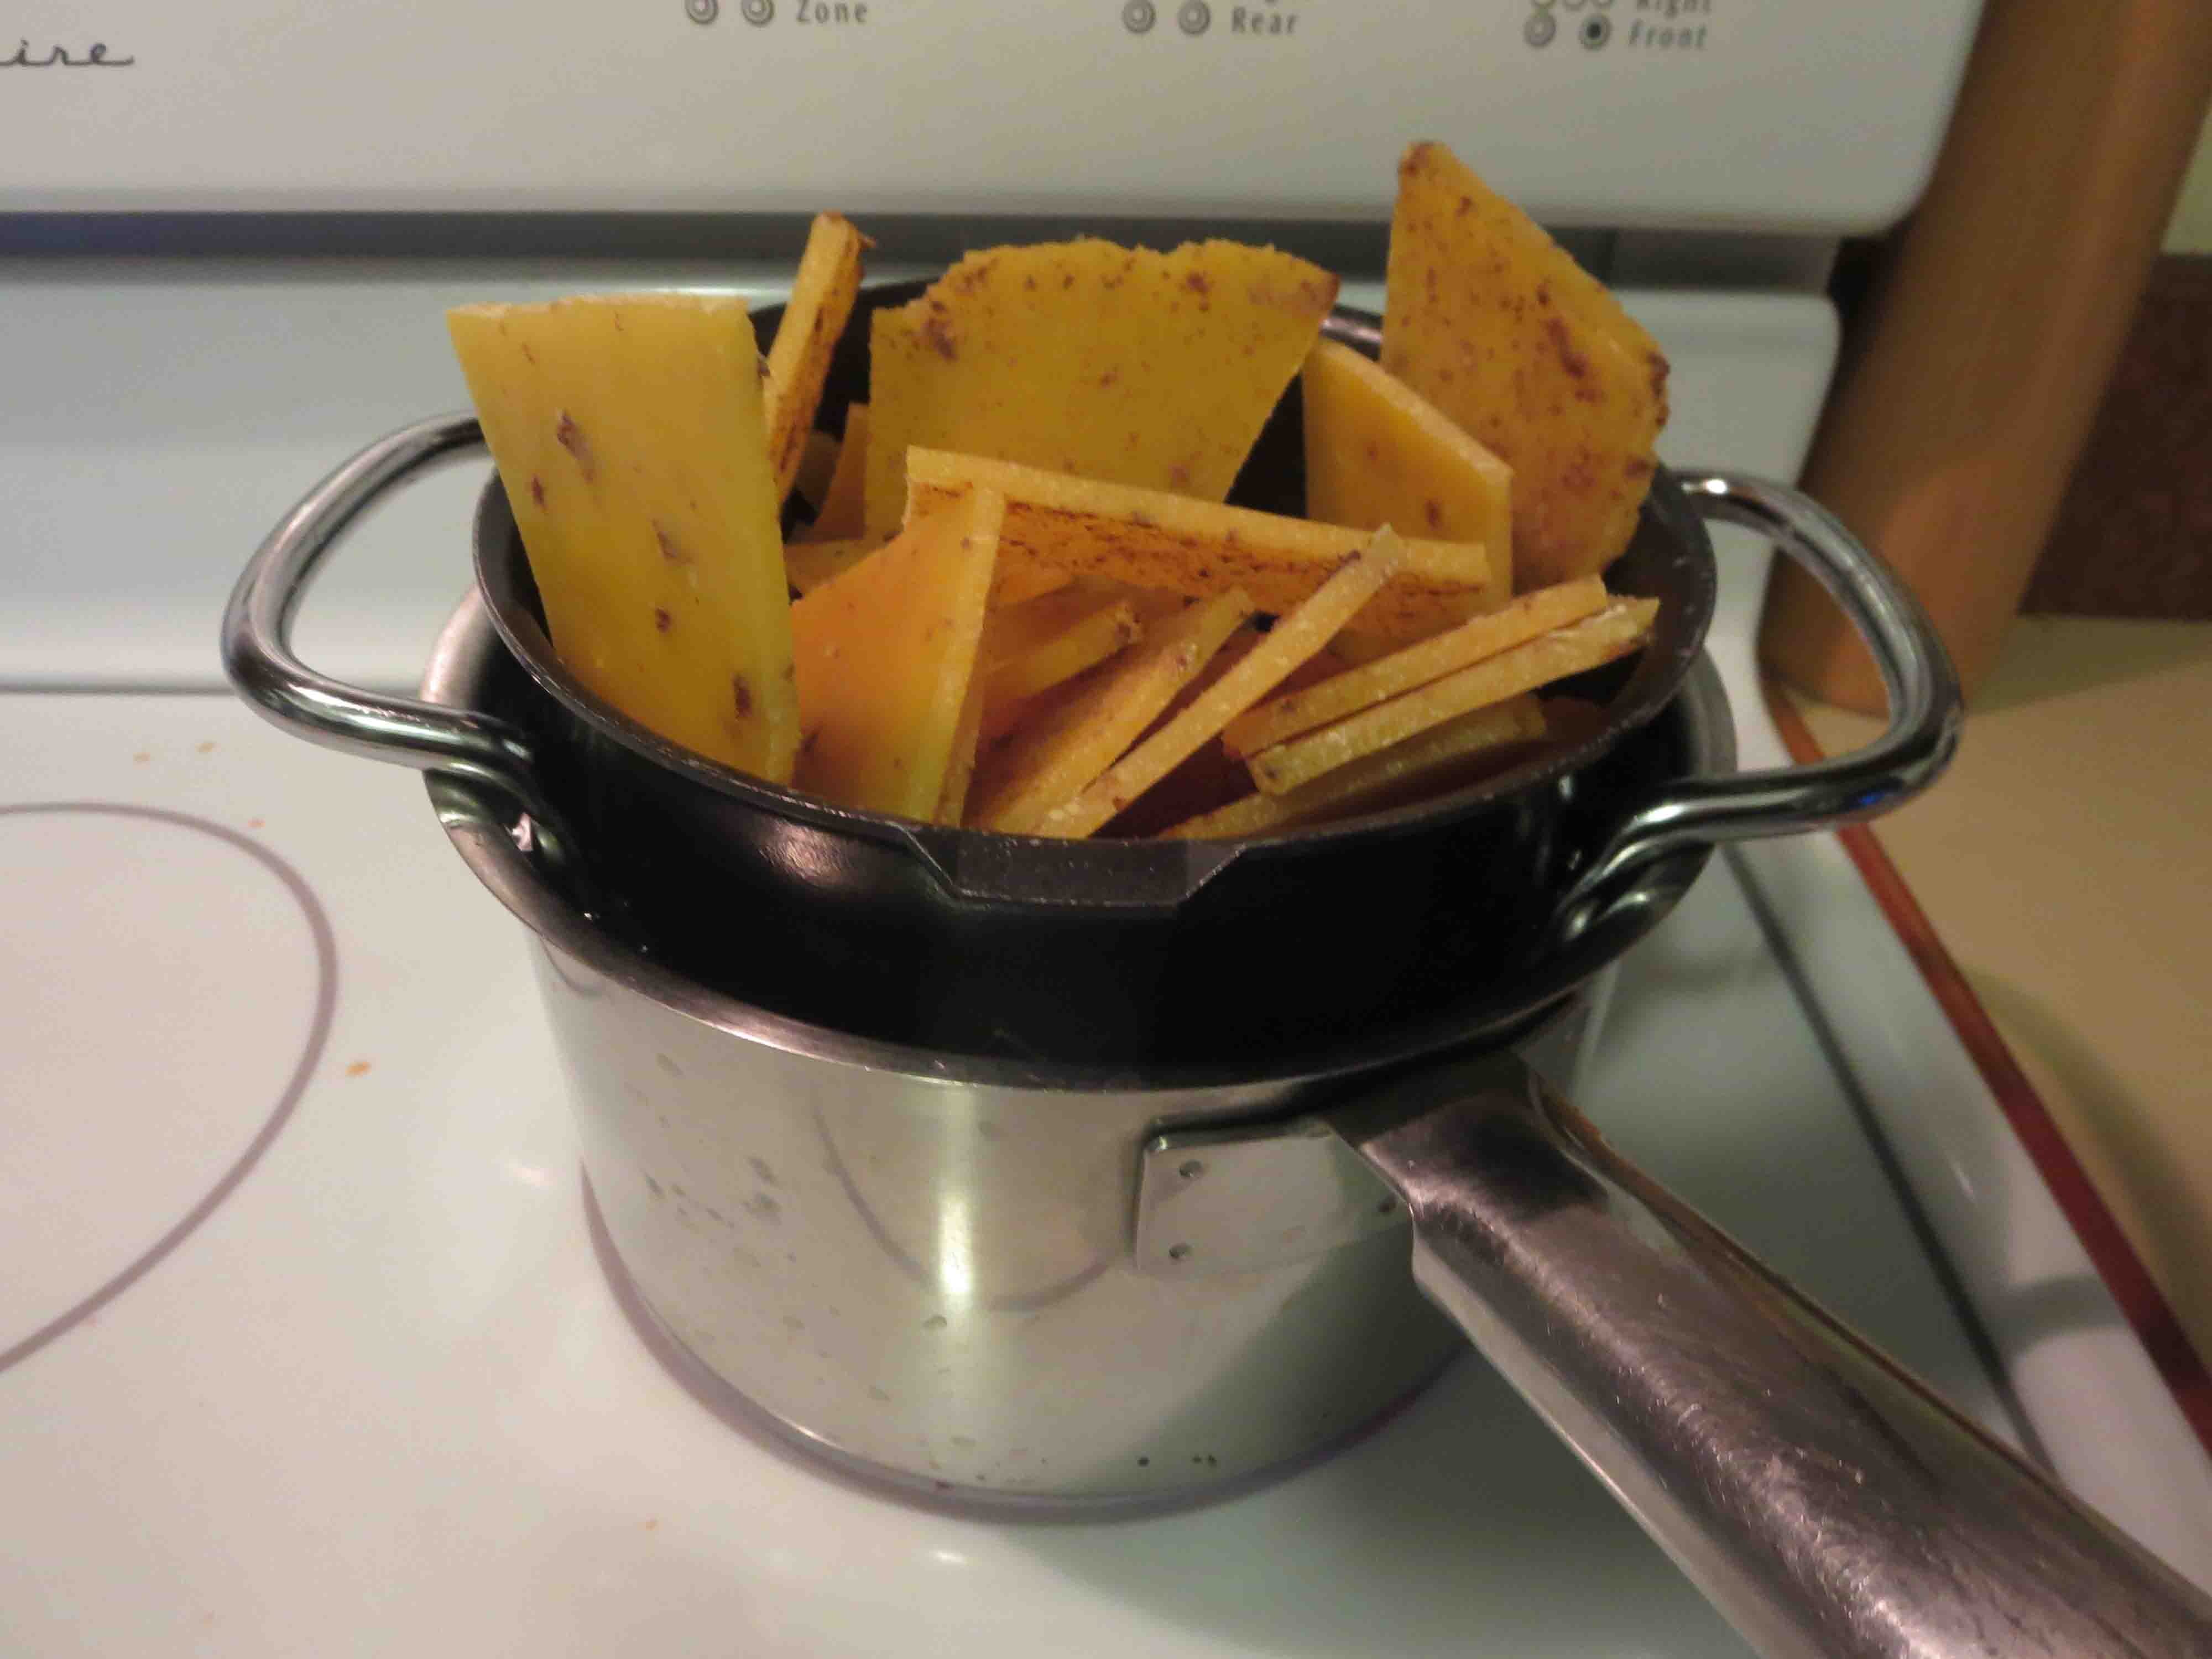 The second melt occurs in your double-boiler. I use a makeshift double-boiler so I don’t have to worry about ruining a pot. You can use a tin can, just be sure you’ve rigged it up so that it can’t tip over in your pot.
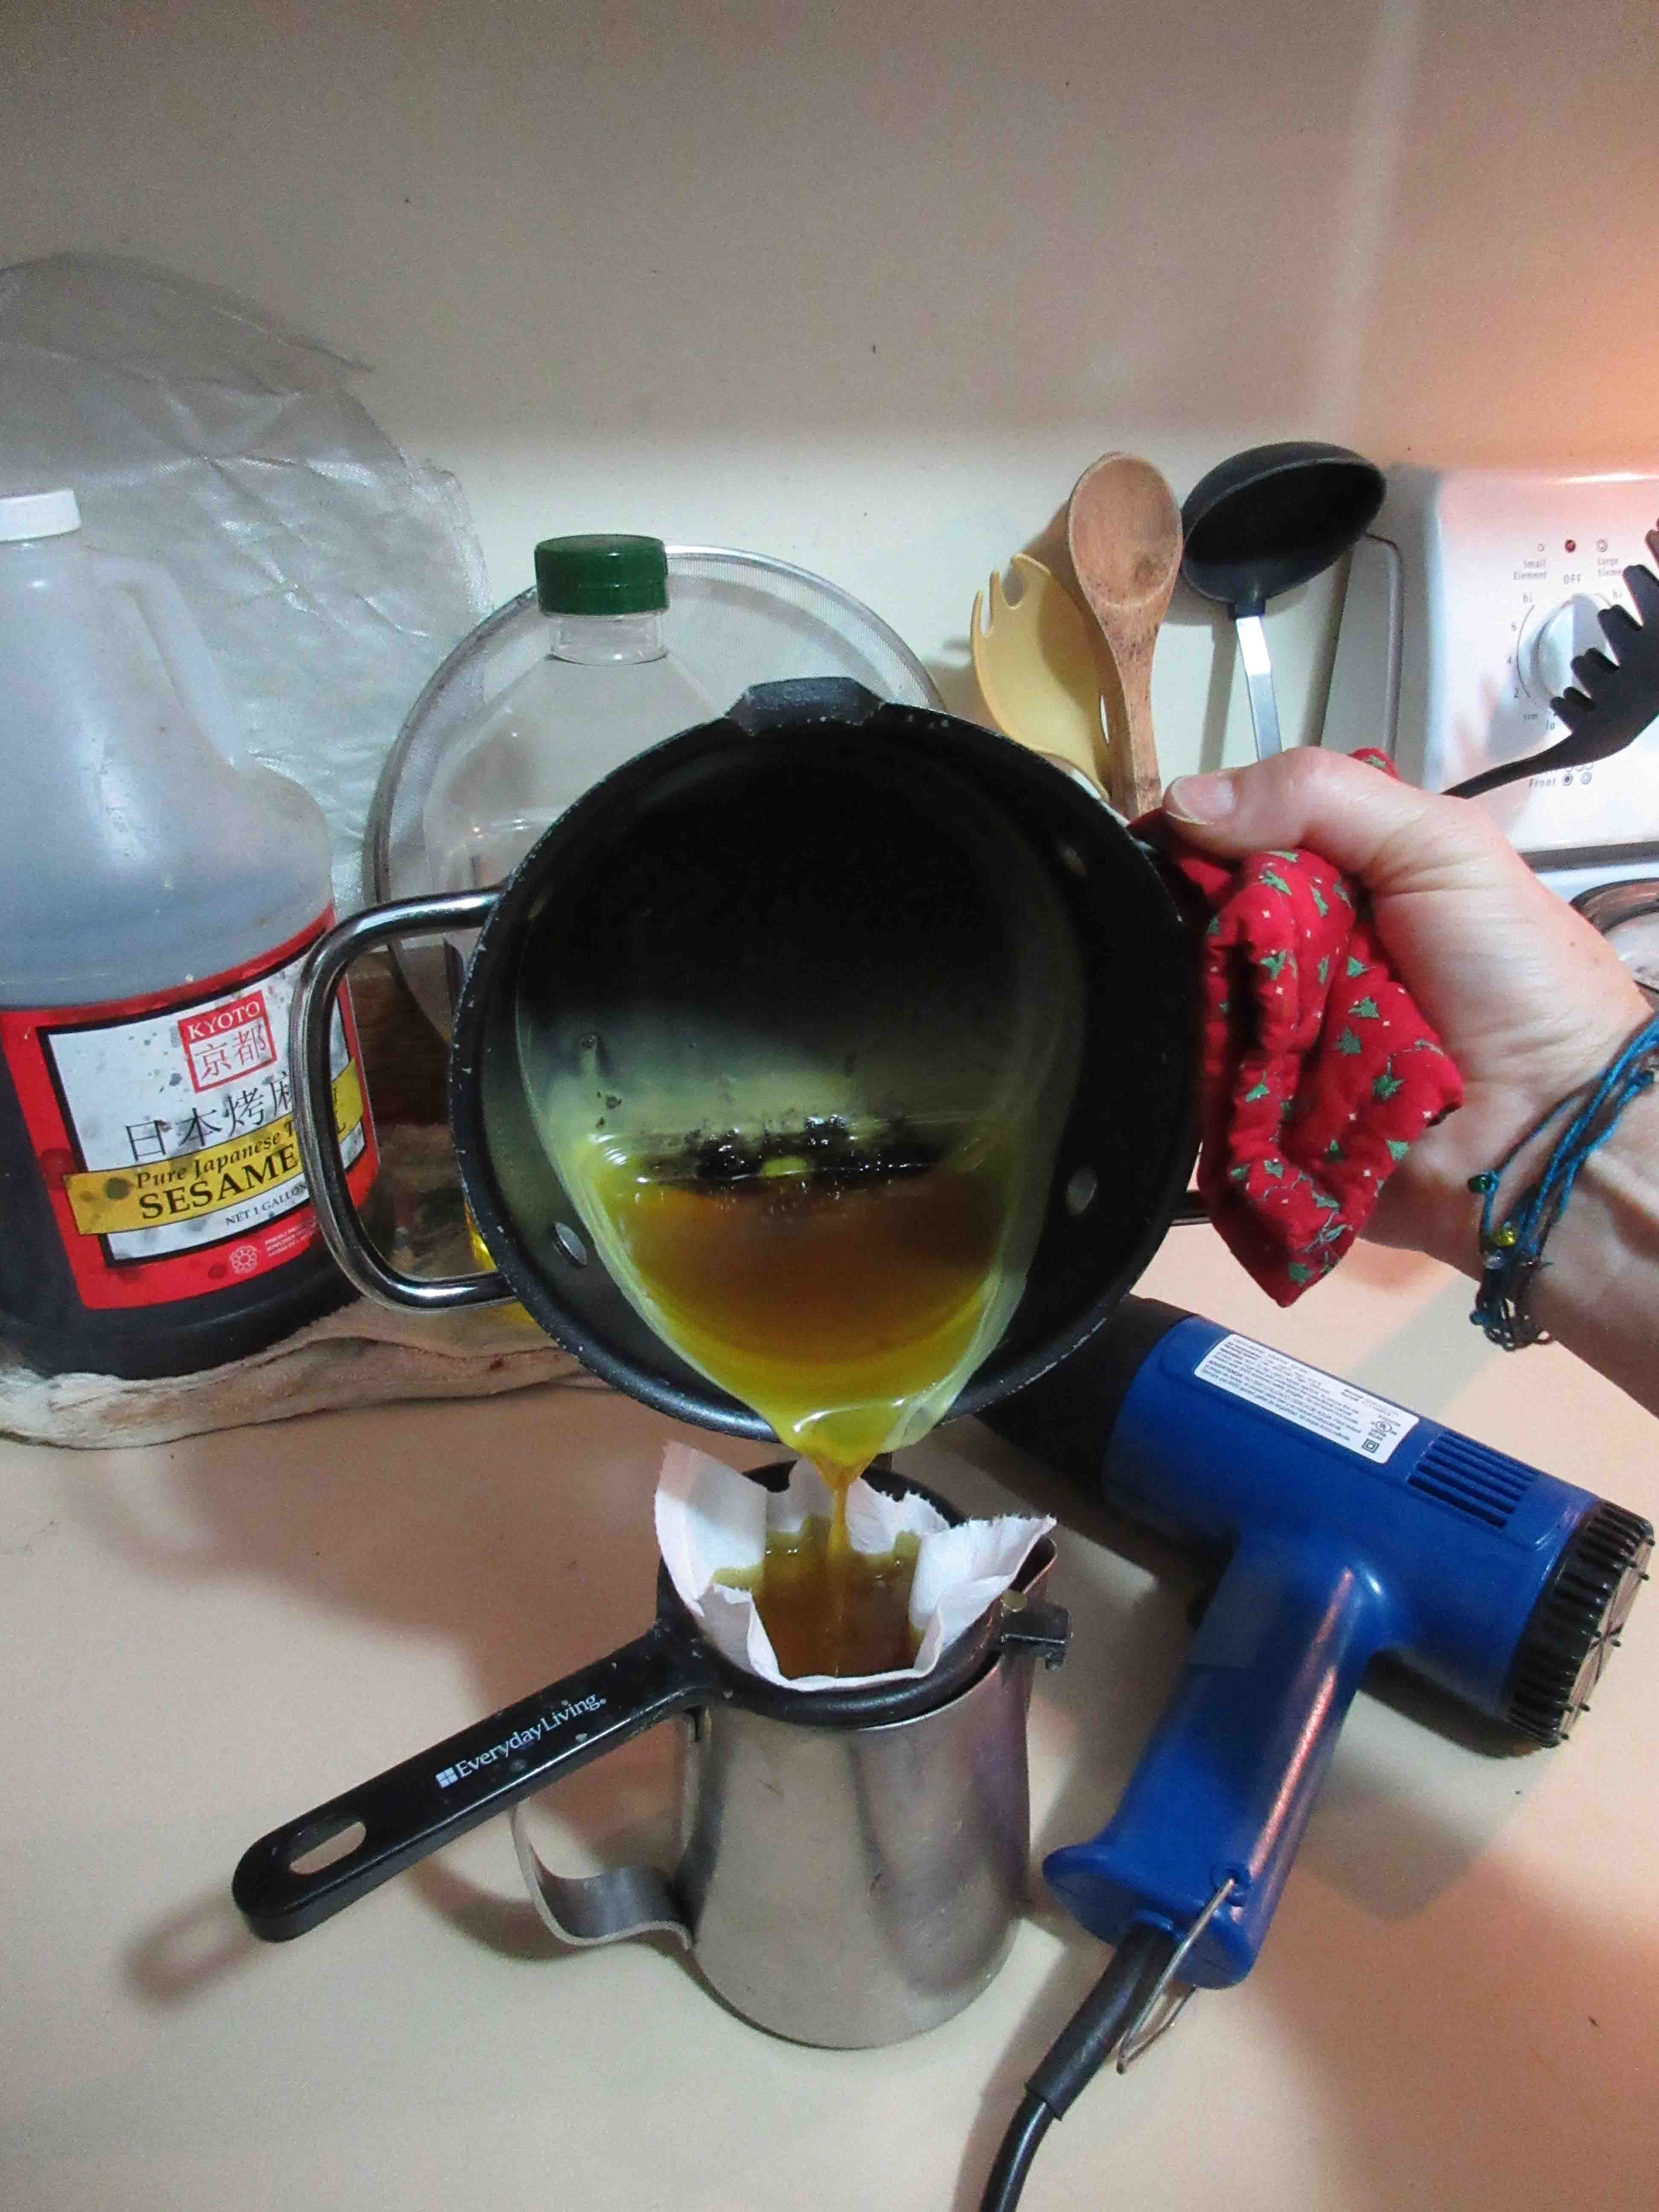 Once the wax is liquefied, line a fine mesh metal sieve with Charmin’s toilet paper and place the sieve over your second can. (My sister tested numerous materials as filters for cleaning wax and found Charmin to be the superior choice.) Place the can on a pot holder or some other insulating device to protect your countertop. Slowly and carefully pour the liquid wax through the filter into the second can. The wax will solidify as you work, clogging up your filter. The heat of the liquid wax that you’re pouring through will help to clear a path, but you can also use the heat gun on its lowest setting to get things flowing again. Be careful not to blow wet wax all over your work space.
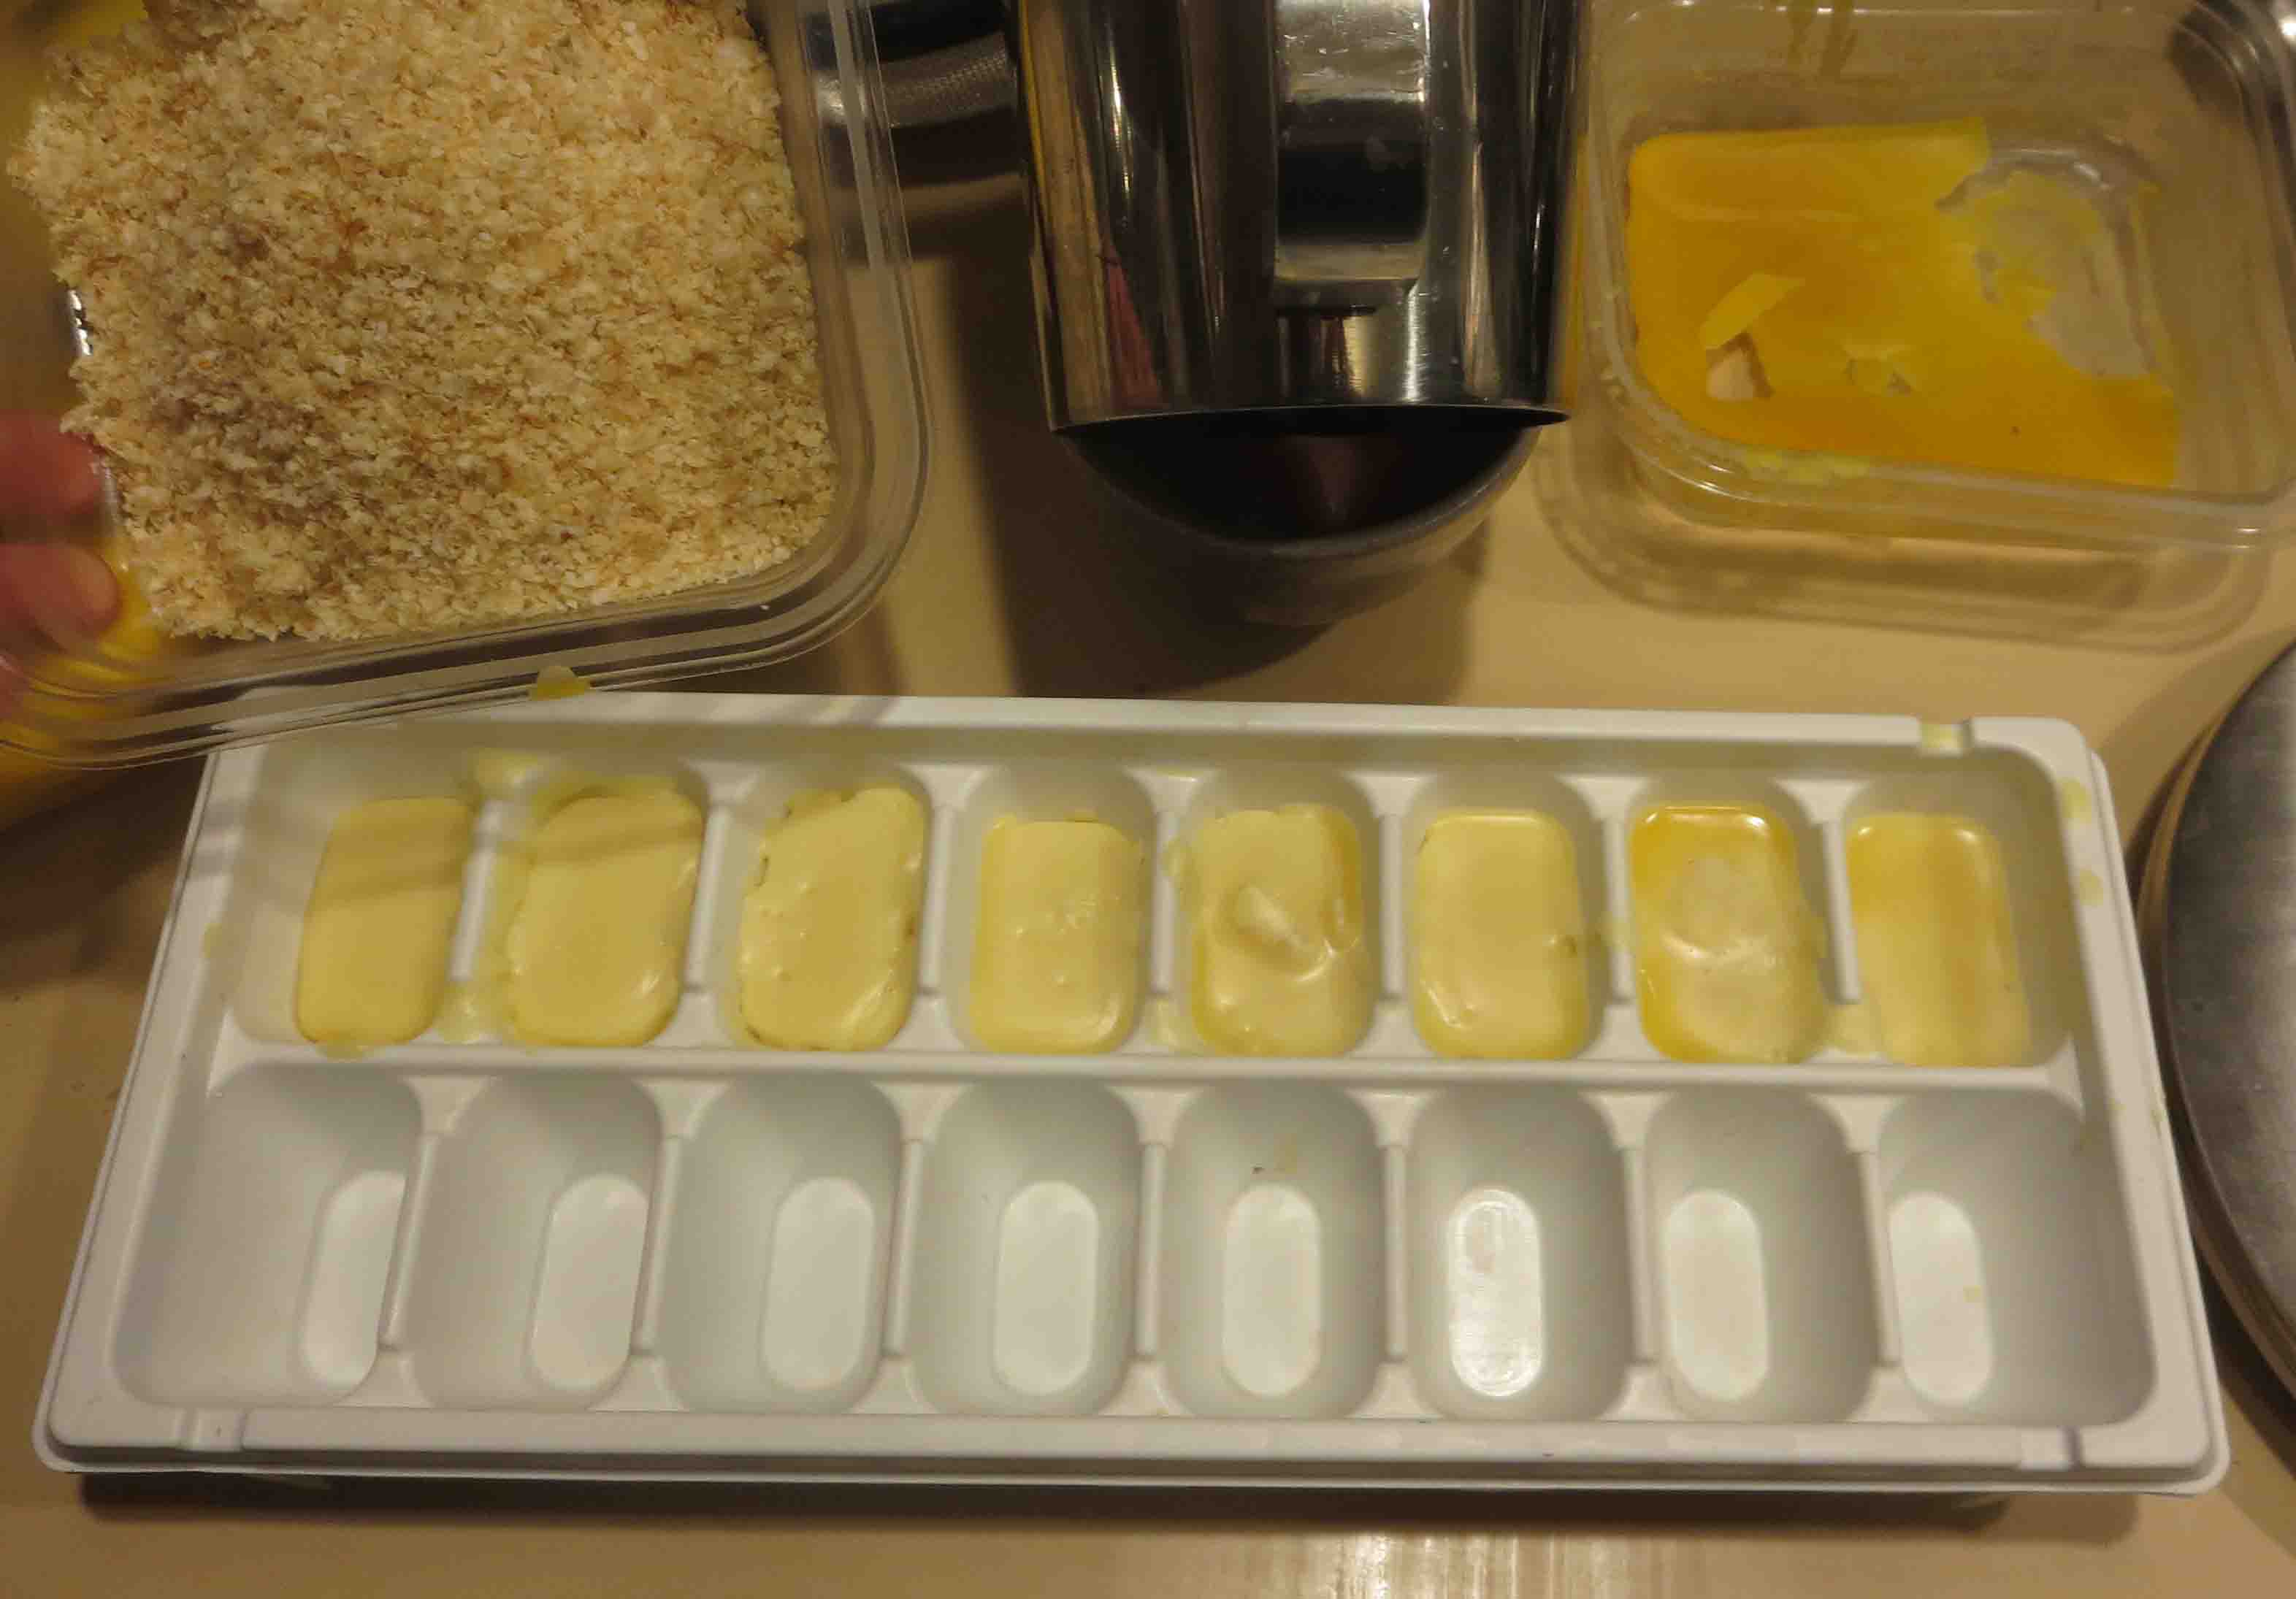 The third melt also occurs in your double-boiler. By the time you’ve finished filtering the wax, the first pours will have started to solidify. Place the can into the hot water of the double-boiler pot to re-melt. When it is sufficiently liquified, pour the clean wax into the squares of an ice cube tray or into your wax or candle mold.